.png)
This post is also available in: 日本語
Introduction
This article introduces the basics of the JIRA project management tool.
JIRA is a tool for teams to manage projects. For example, this tool is suitable for the case where each team collaborates to make things such as creating services or functions. It allows you to drive projects using different project workflow management formats, such as roadmaps, kanbans, and scrums.
What is JIRA?
JIRA is a common name and the official name is JIRA Software. JIRA makes it easy to manage various workflows such as Kanban Boards, Scrum Boards and Agile Reports.

JIRA operating company
JIRA is run by Atlassian, an Australia-based software company. In addition to JIRA, Atlassian also covers popular task and project management tools such as Trello and Confluence. Atlassian has a history of nearly 20 years.

Also check out our Atlassian article.
注目のB2Bサービスを生み続ける最先端テック企業Atlassian(アトラシアン)を徹底研究!
Here is the introduction of Trello
Introducing Trello, a Useful Task Management Tool
Confluence, another Atlassian wiki tool, is here.
Introduction to Confluence, a useful collaboration wiki tool
JIRA Pricing
Let me introduce JIRA’s fee structure. JIRA has two plans, one for use in the cloud and the other for in-house management.
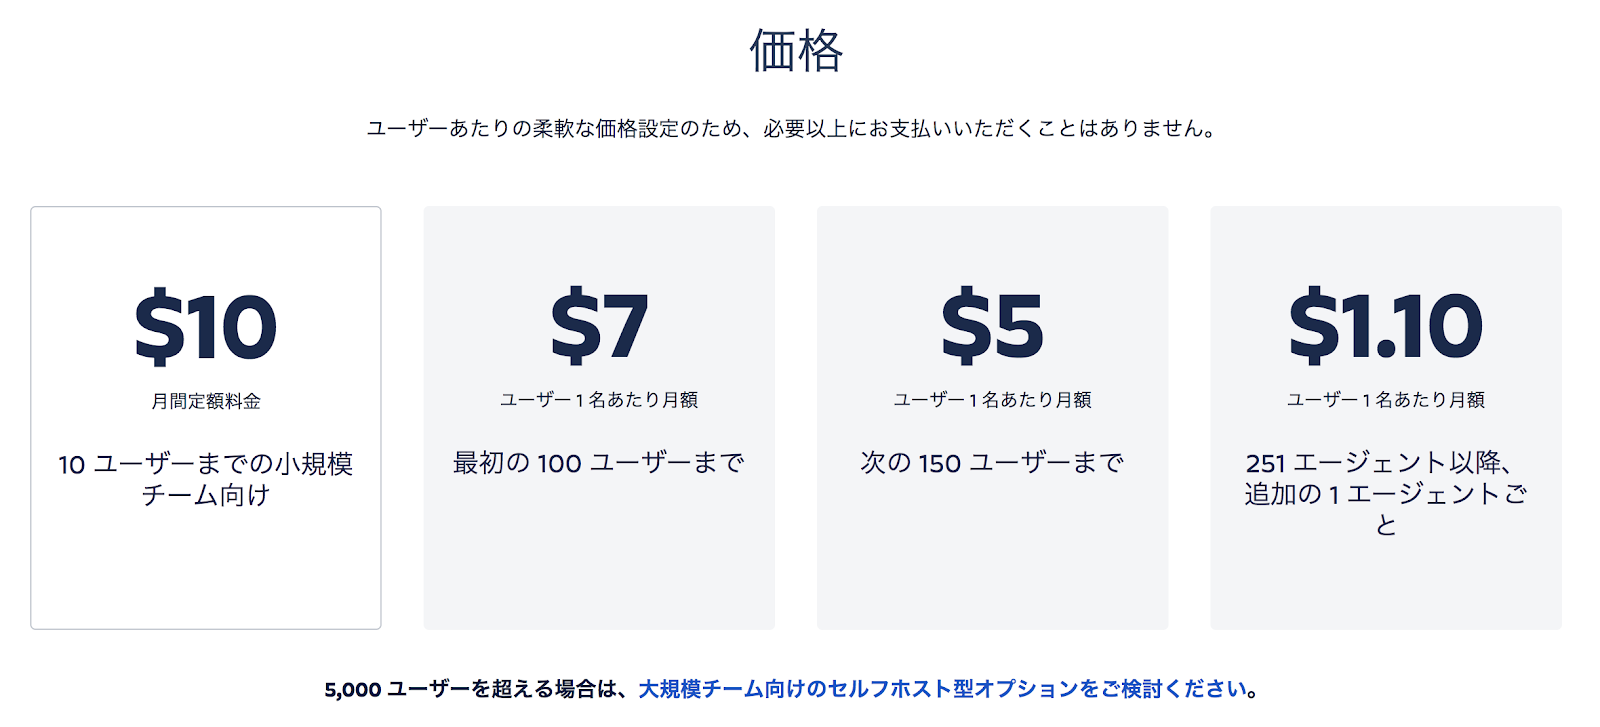
Use in the cloud
The pricing structure for cloud use is as follows:. It is a volume discount system according to the number of accounts. For example, for a small team with up to 10 accounts, it will be about 1,100 yen per 1 account, but for a team with more than 251 people, it will be discounted up to about 120 yen. It comes with a 7 day free trial.
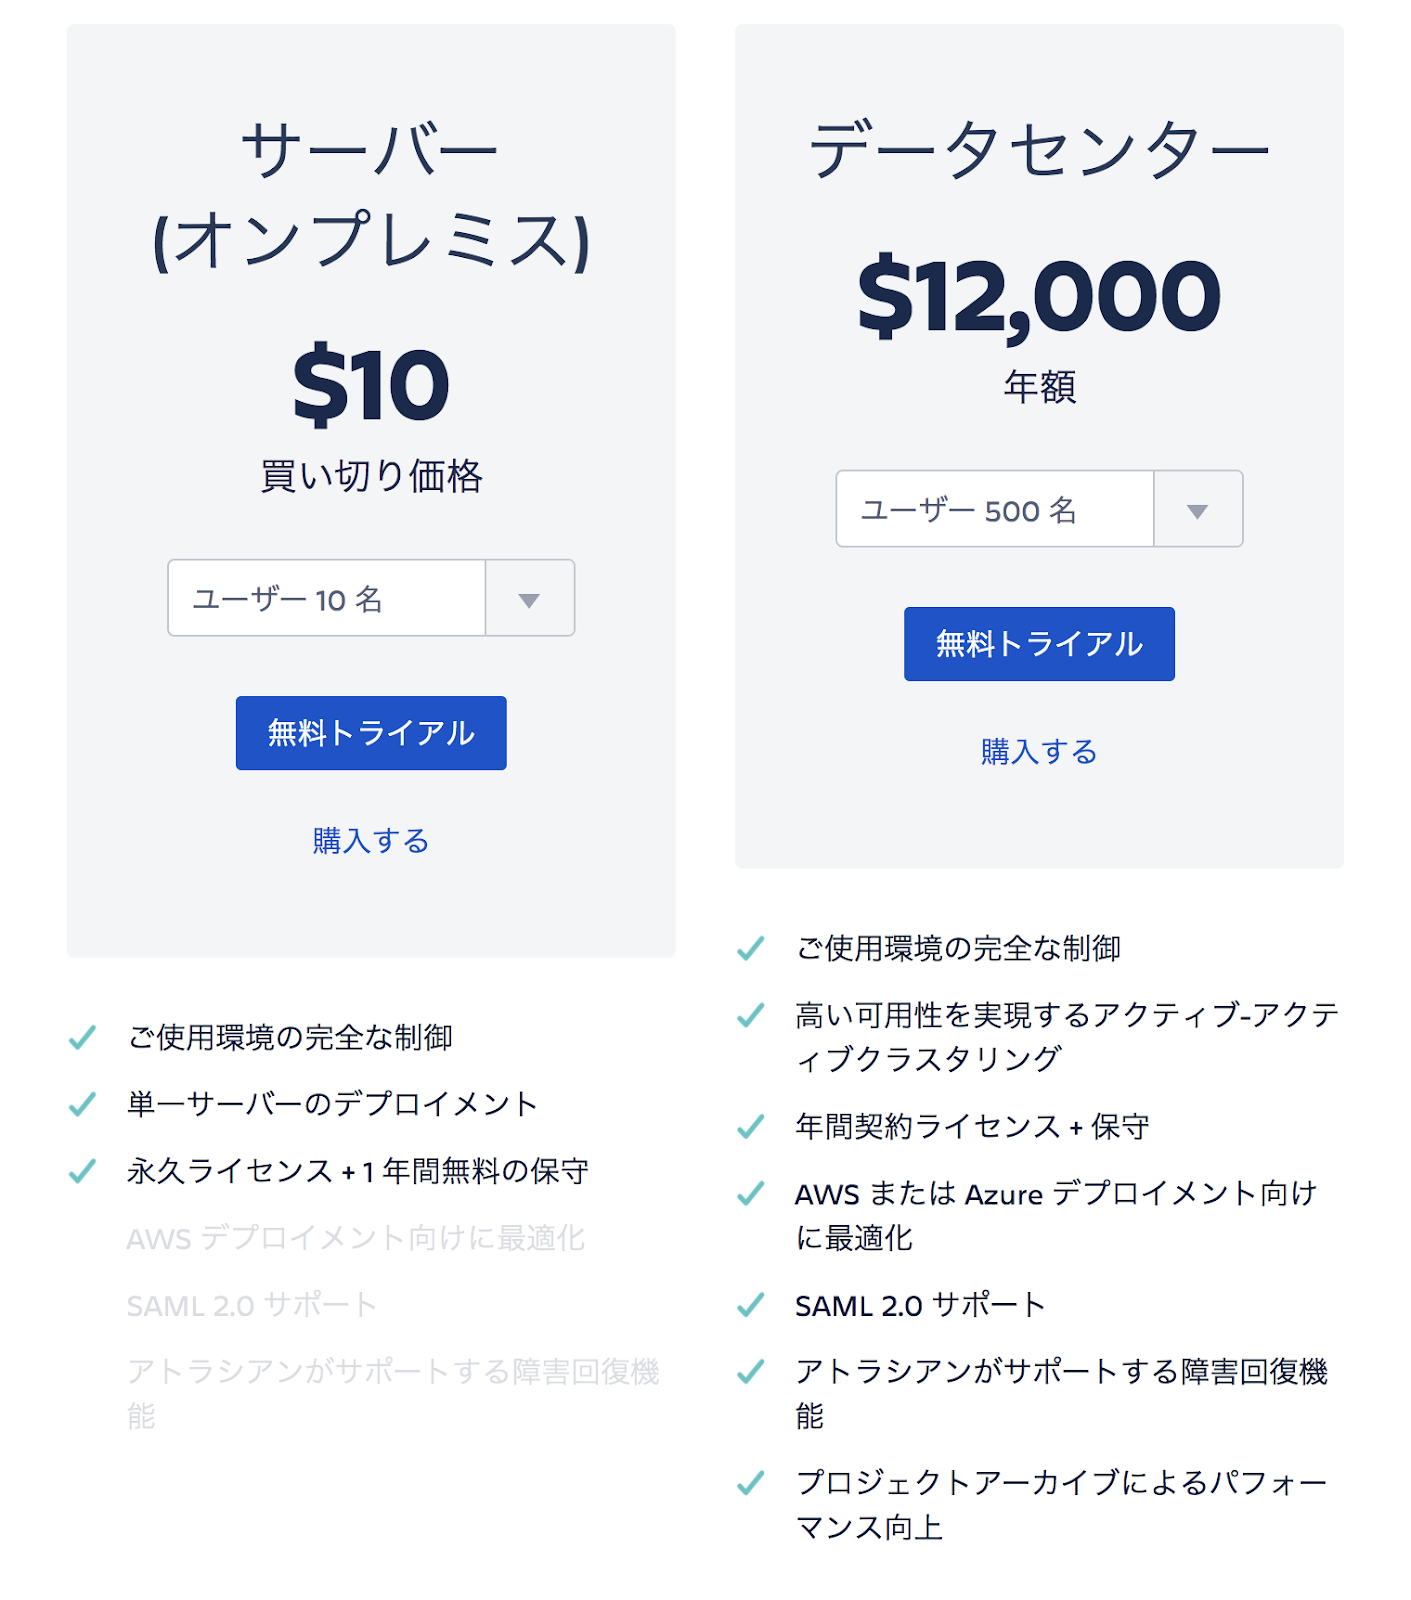
On-Premise Usage
The fee structure for in-house use is as follows. This is a buy-out price. This also comes with a free trial.
In this article, we will introduce the use of the cloud as a base.
How to Register JIRA
Let me explain about JIRA registration. You can register at the following official website.
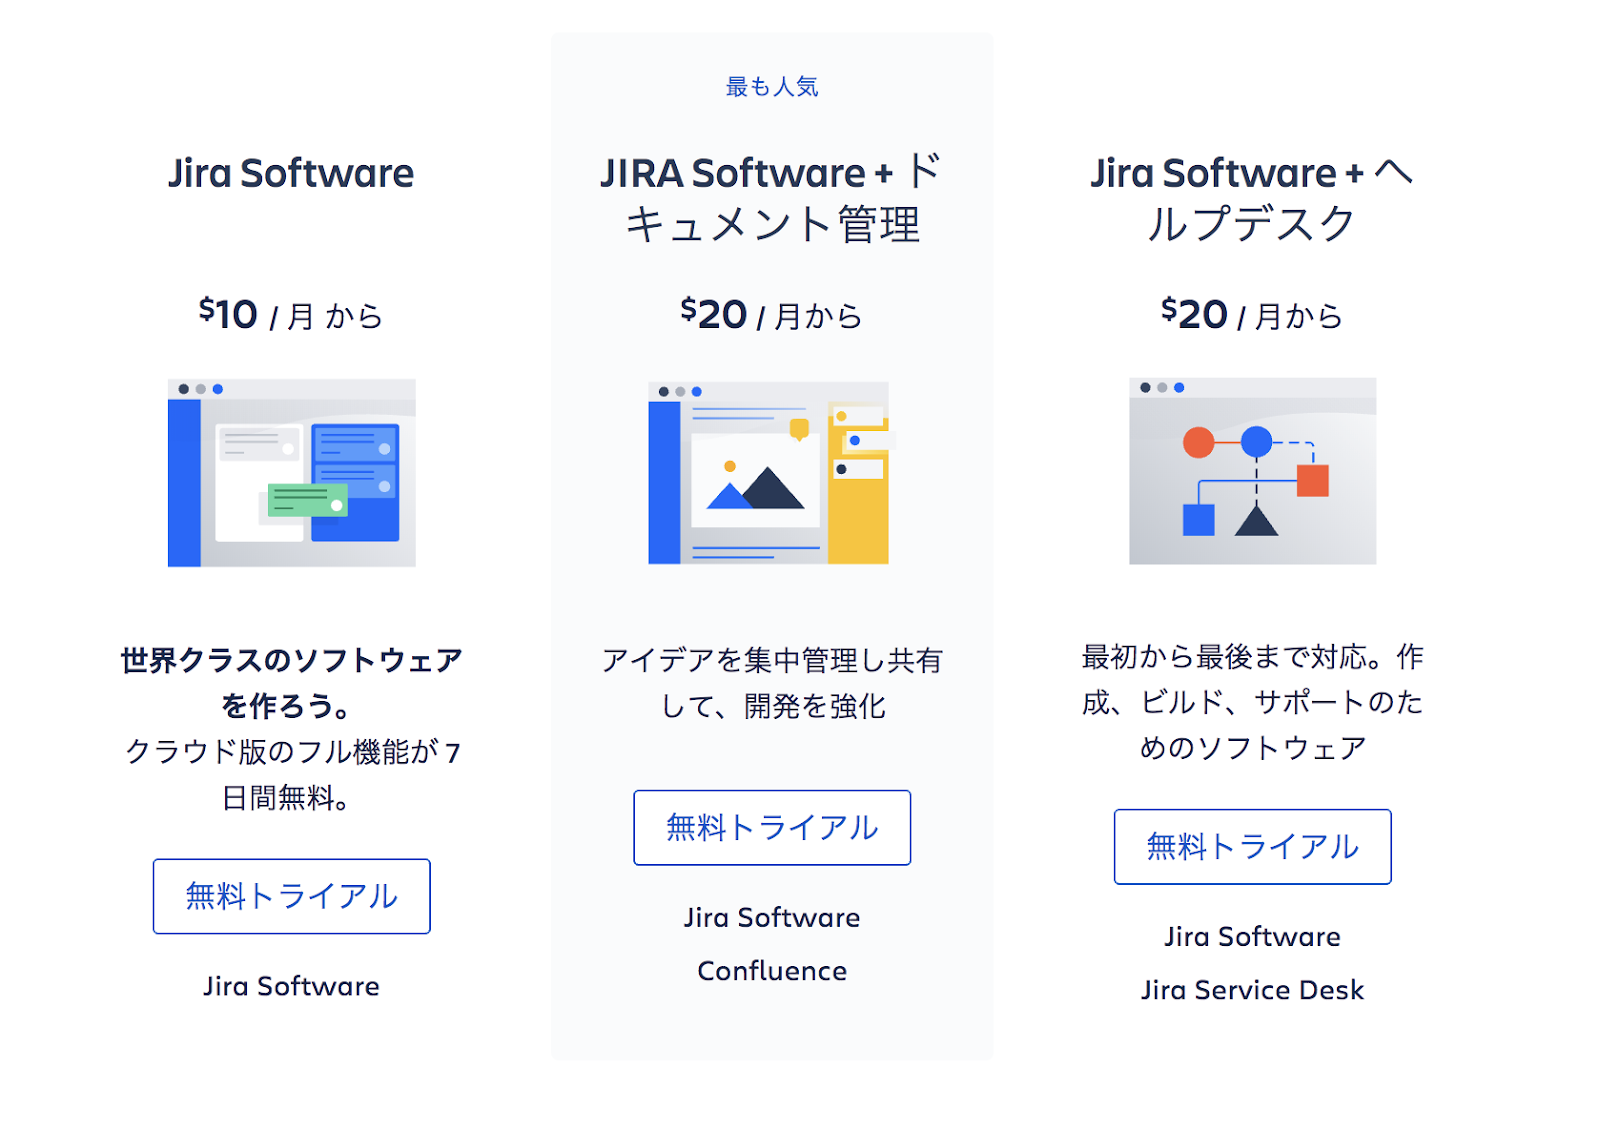
If you click the free trial, you can choose from 3 plans.
The leftmost pattern is JIRA only, the middle pattern is Confluence and set pattern, and the rightmost pattern is Jira Service Desk set pattern.
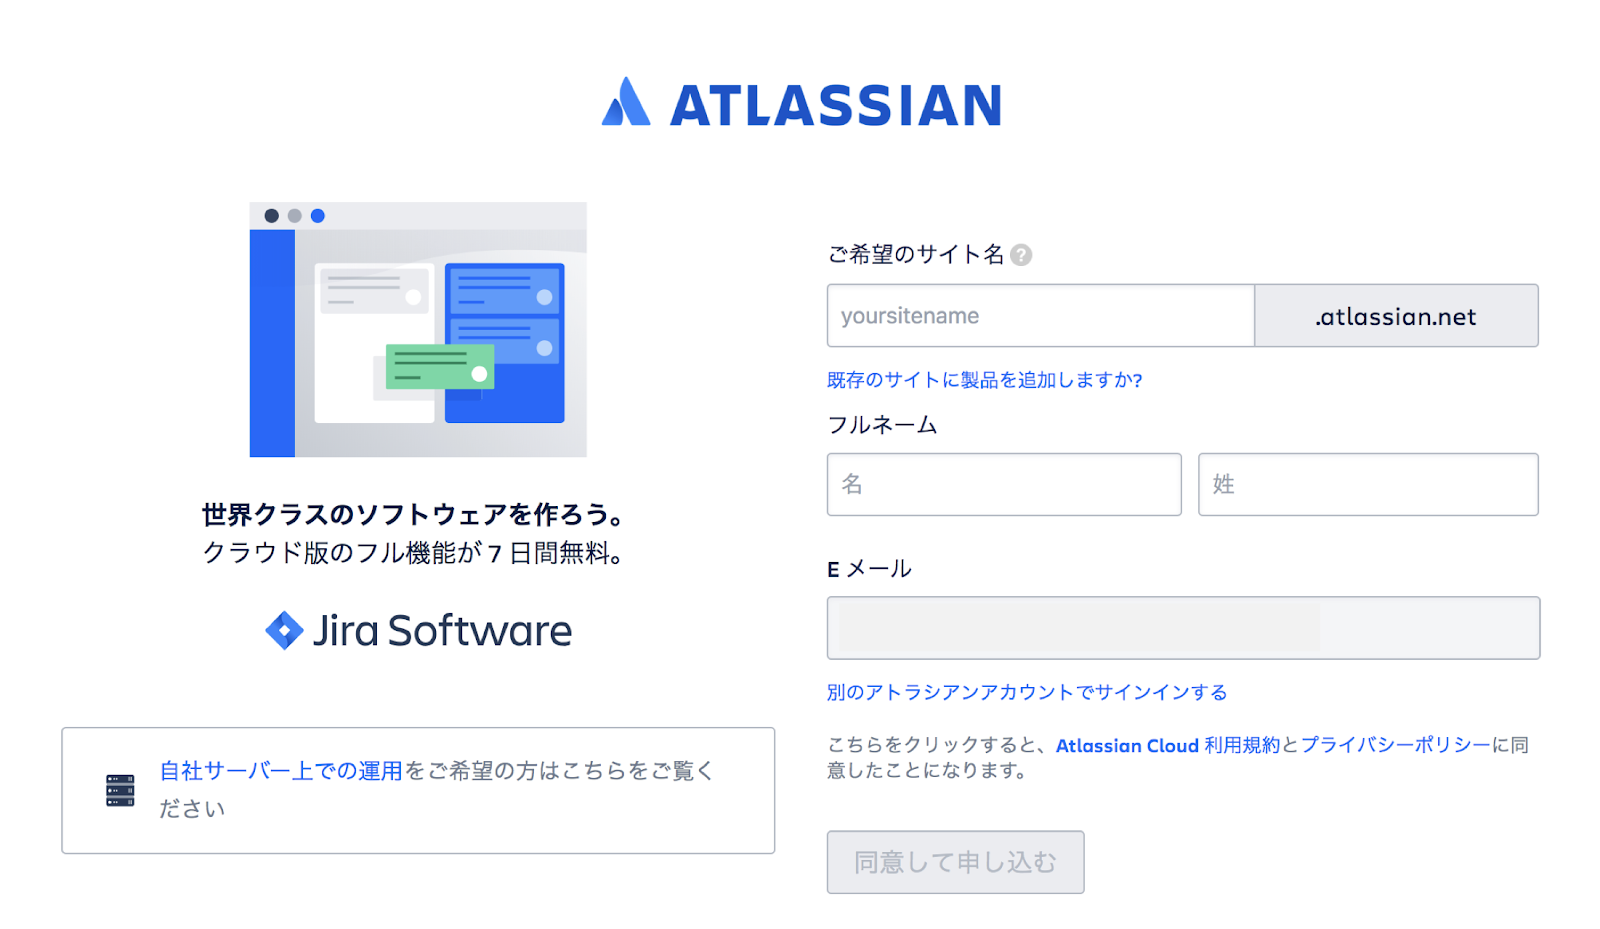
If you chose only the JIRA plan on the far left, you will go to the account registration screen like below. Enter the URL, name, and email address for the page here. If you go to Agree and Apply, you can open an account. You can actually use JIRA by clicking on the authentication email sent to your email address.
JIRA Basics
This chapter describes the basic features of JIRA.
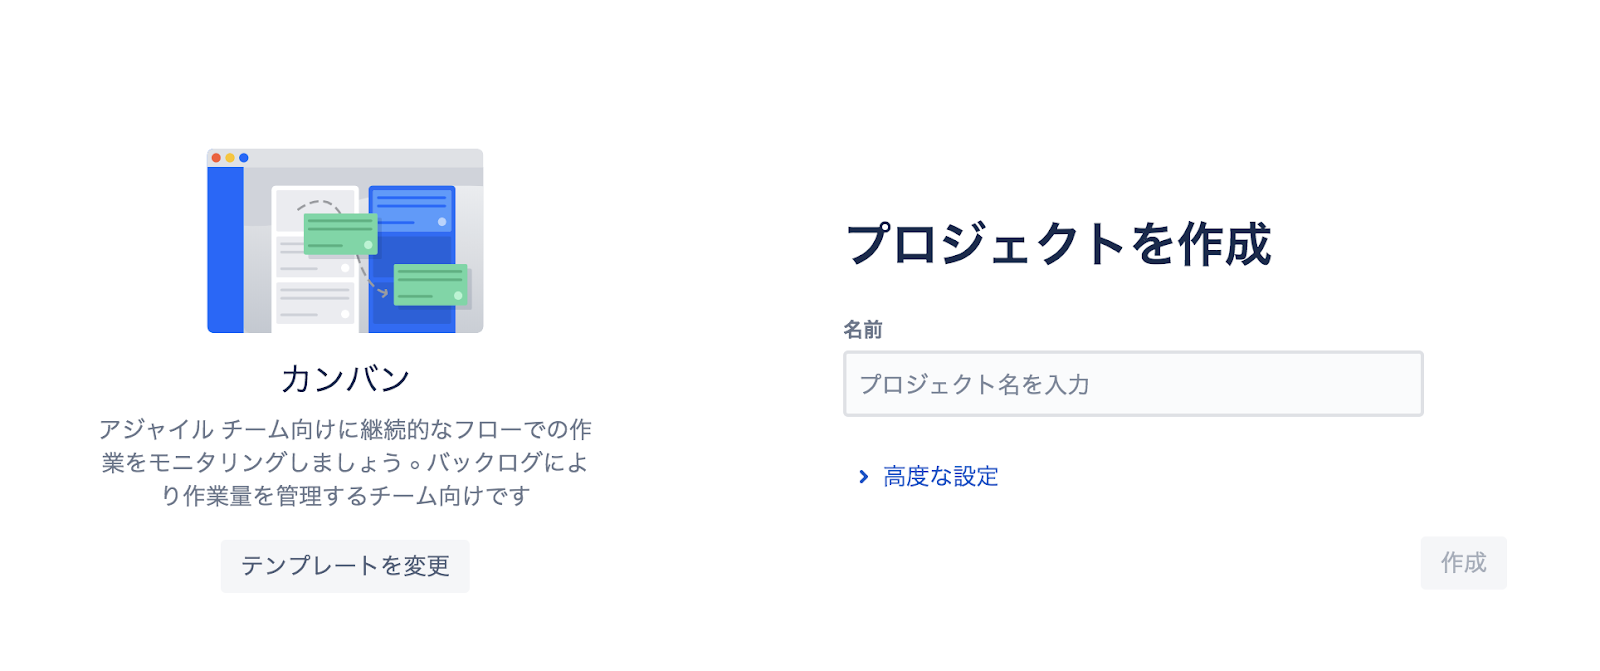
First, click “Project Creation”. You can start all your projects from here.
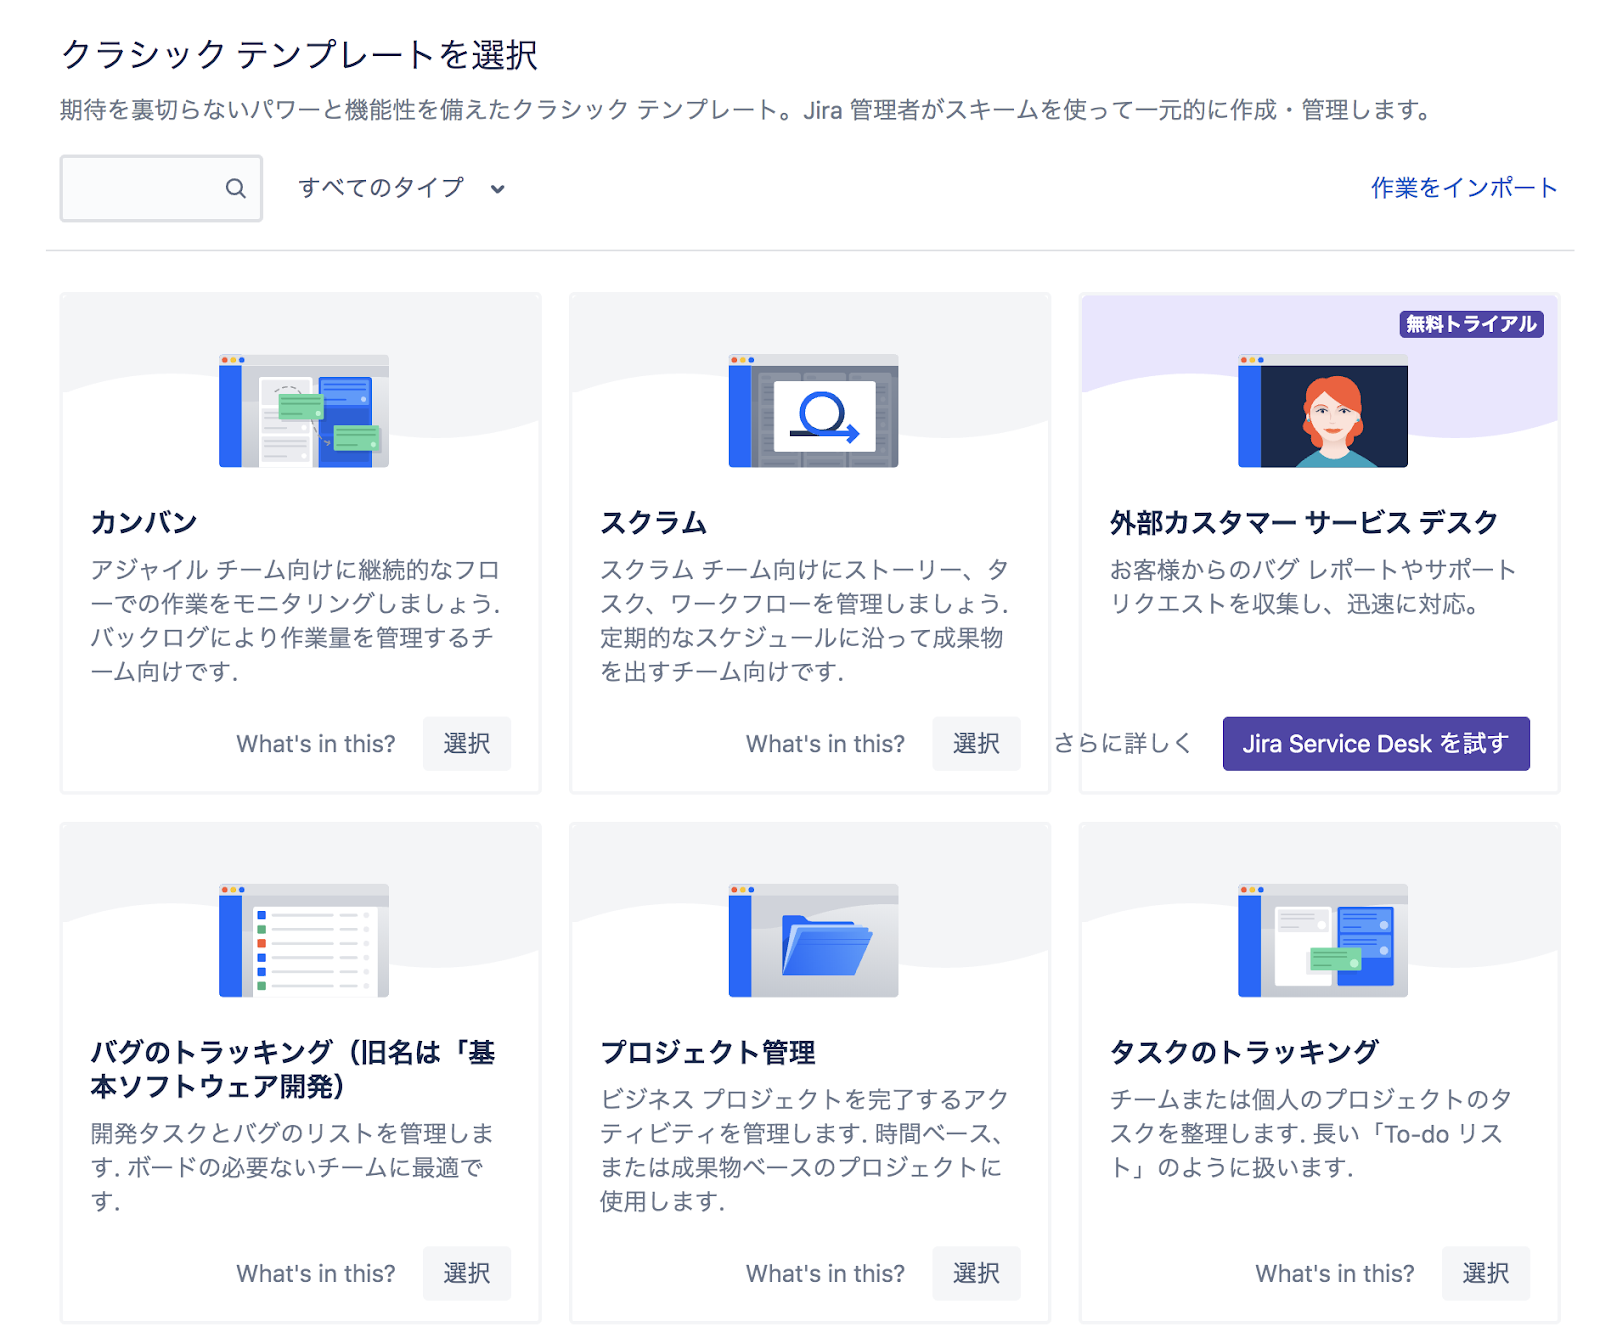
The project has a template. When you click a template, the following screen appears, and you can select the template you like.
JIRA Main Project Templates
There are 12 project templates. It looks like this:.
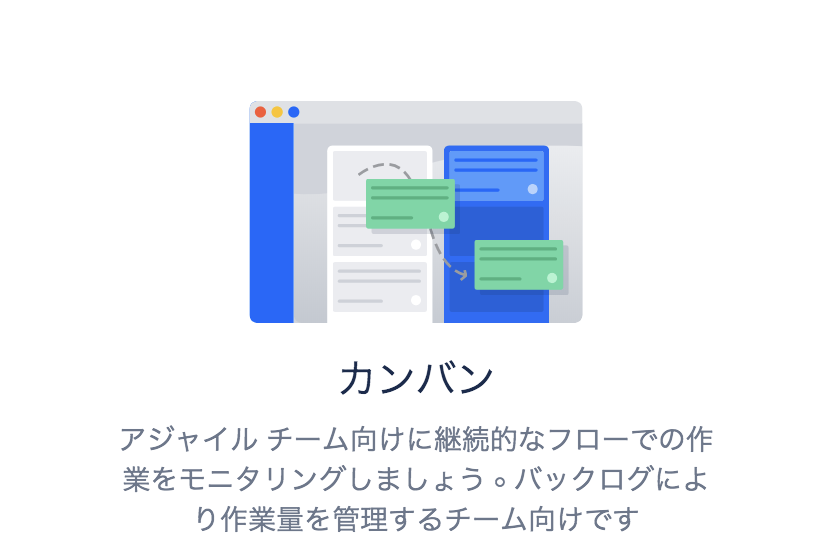
- Kanban: A kanban management format.
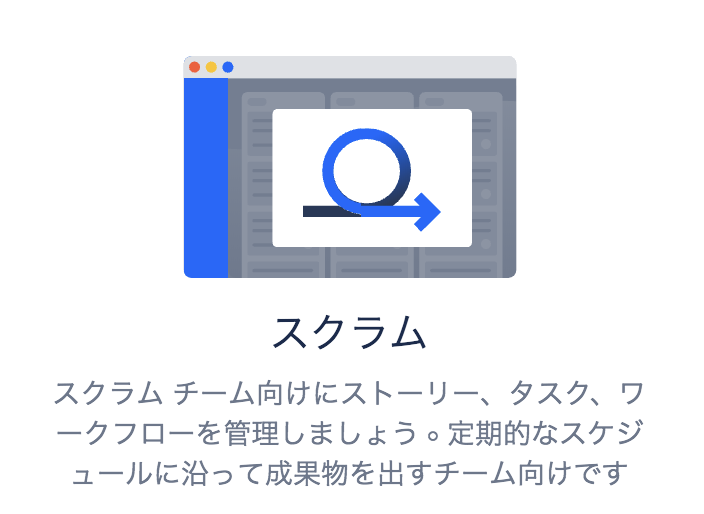
- Scrum: A Scrum management format.
- Service Desk: Service for customer support (extra charge).
- Bug tracking: Bug management.
- Project Management: Manage business projects.
- Task Tracking: Personal task tracking.
- Process Control: Tracks recursive process activities and tasks.
- Content Management – Manages the content lifecycle from draft to publish.
- Hiring: Monitor from application to offer.
- Document Approvals – Manage from creation to approval.
- Lead Tracking – Manage small sales teams.
- Procurement: Manage the purchasing process.
Here are some of the most popular project management templates.
Kanban Board
First, I will introduce the Kanban board template.
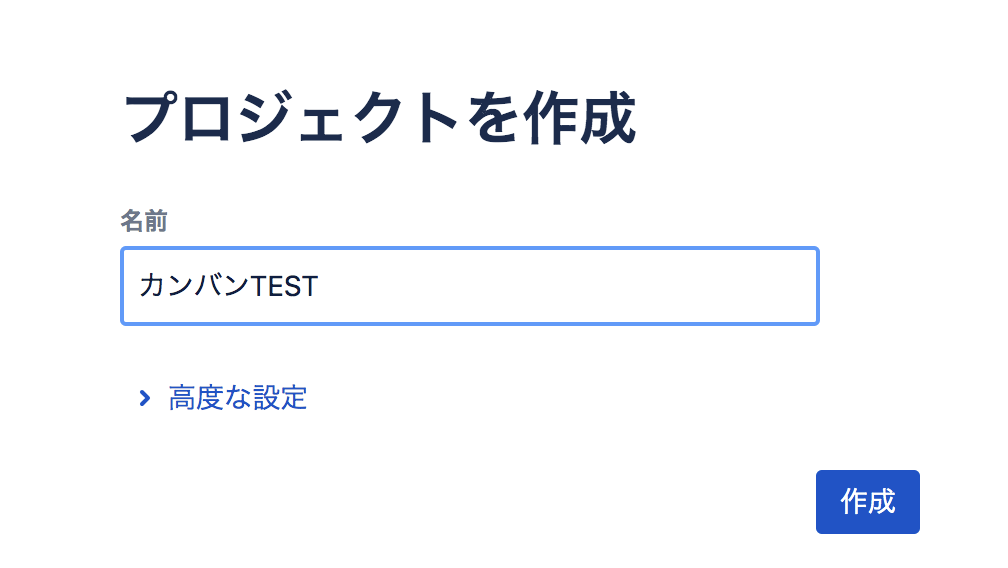
First, name the project and click Create.
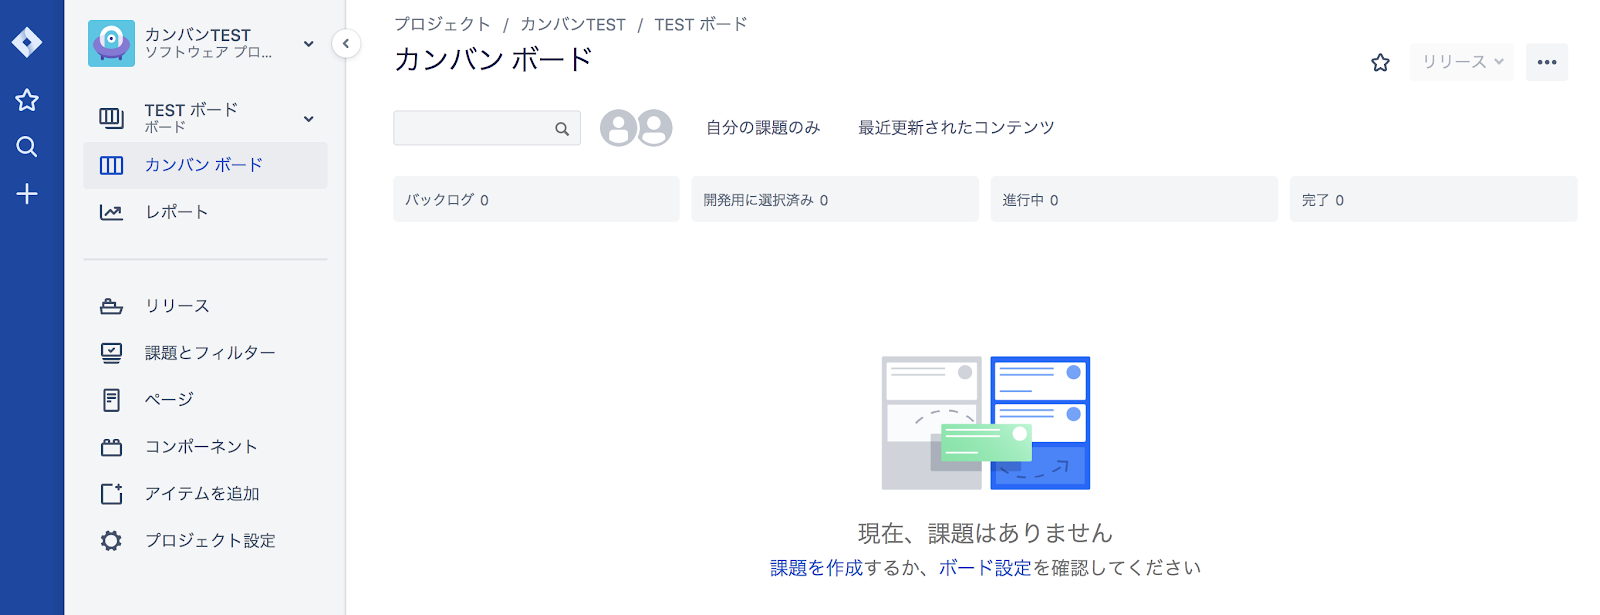
When the creation is completed, the following main screen will be created. This is the project screen.
Board Settings
First, configure the board. Click “…” in the upper right corner to move to “Board Settings”.
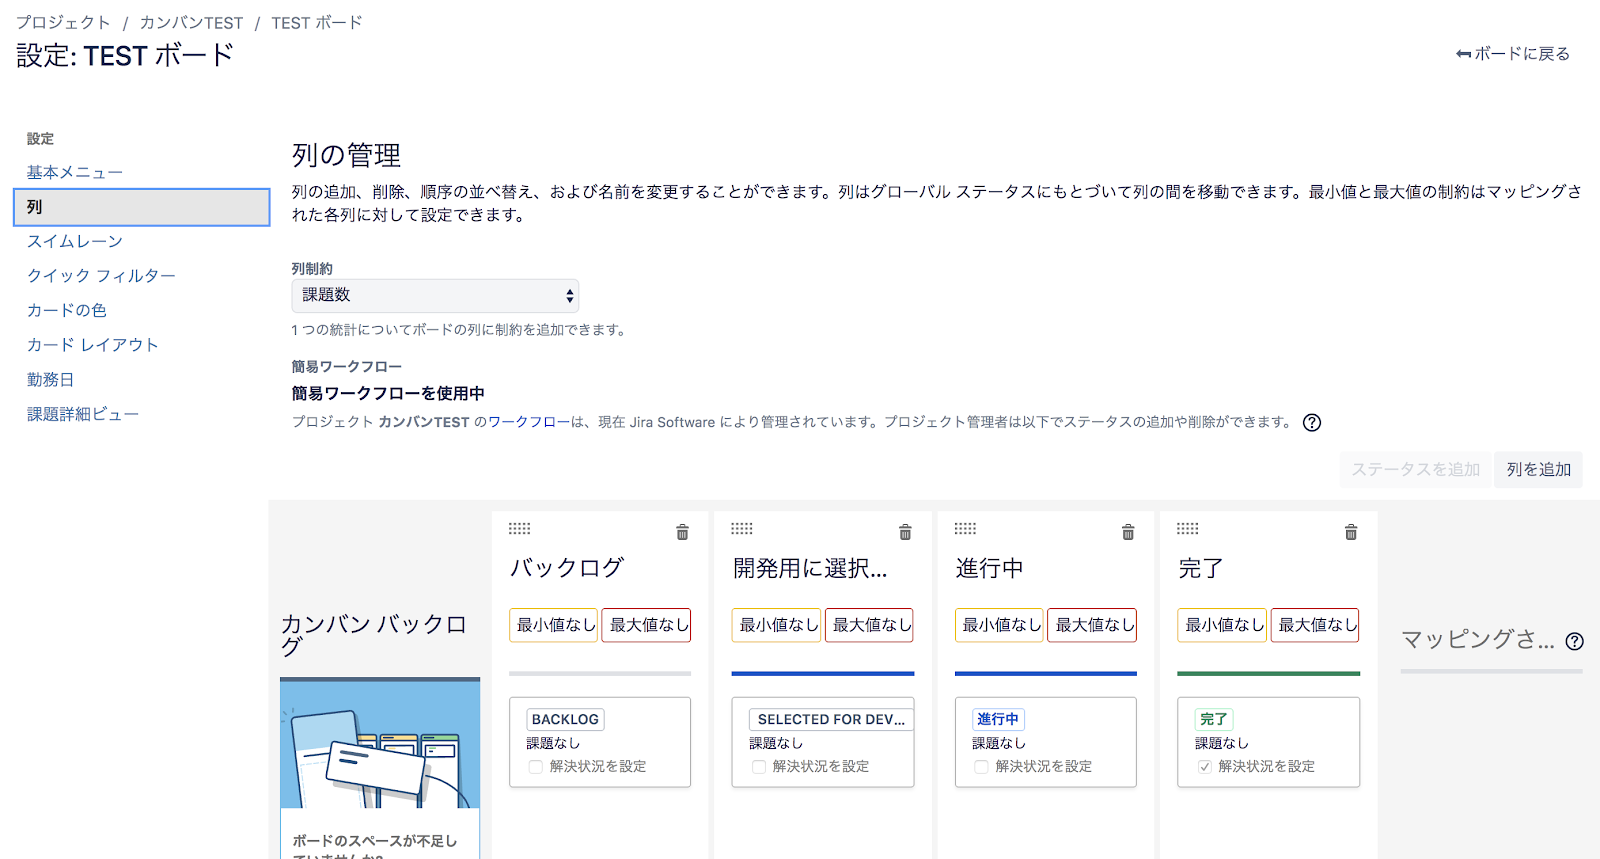
The following is the setting screen of the board.
For example, you can manage columns by clicking Columns on the left menu.
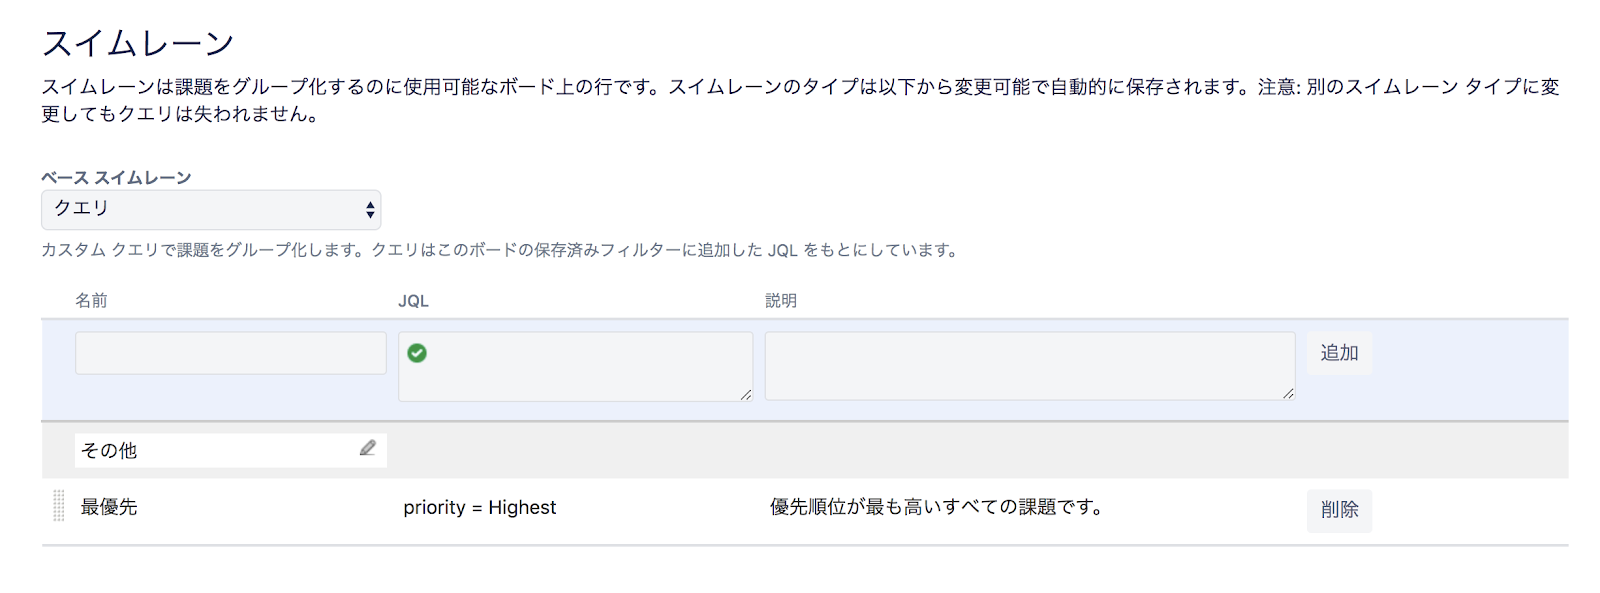
For example, you can click “Swim lane” to group assignments.
You can flag it as “High” or “Medium” depending on the priority.
JQL is a query that can invoke commands on JIRA.
Create Issue
Once the board is configured, create the issue. You can create an assignment by clicking “+” in the left menu.
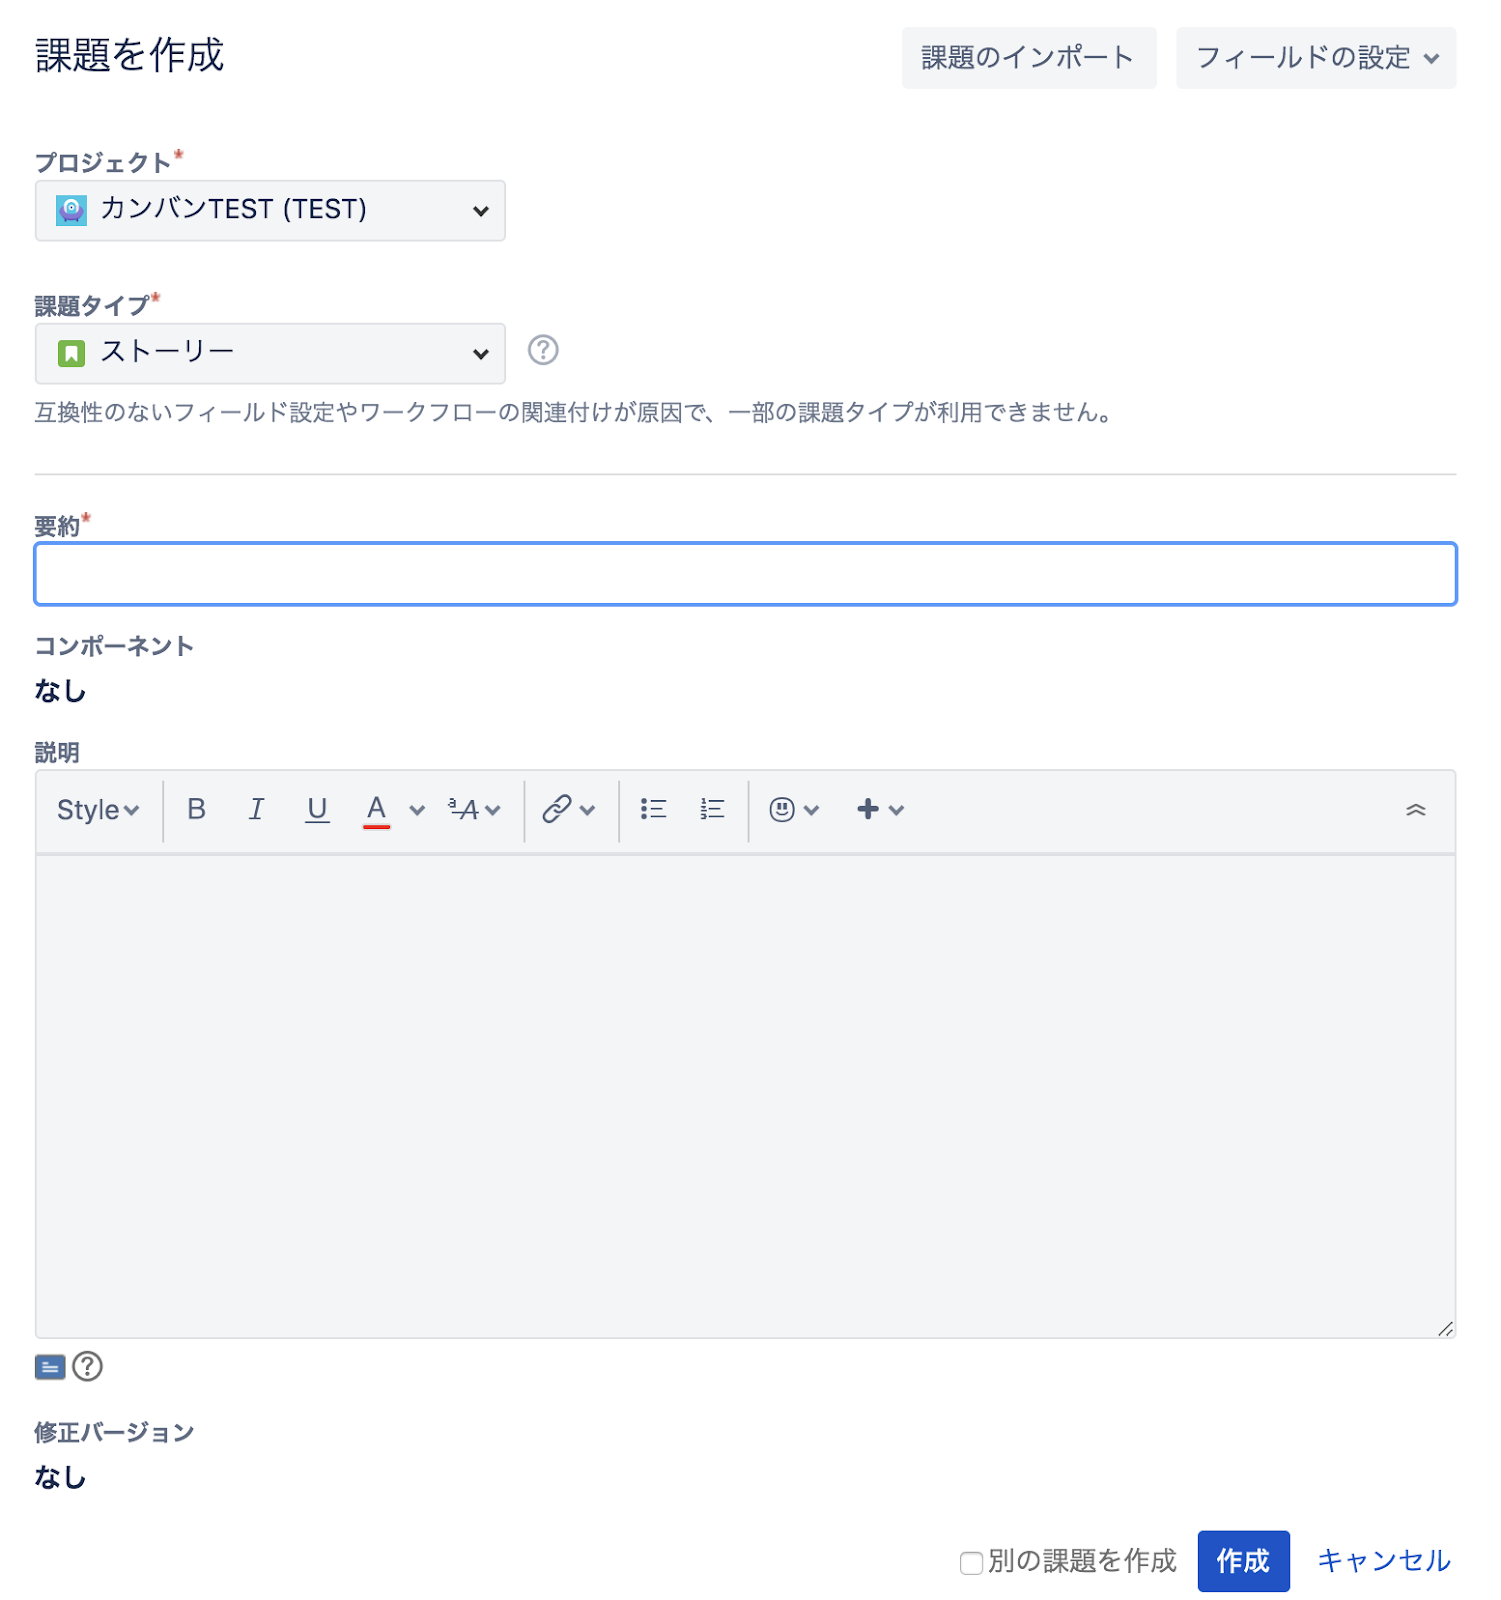
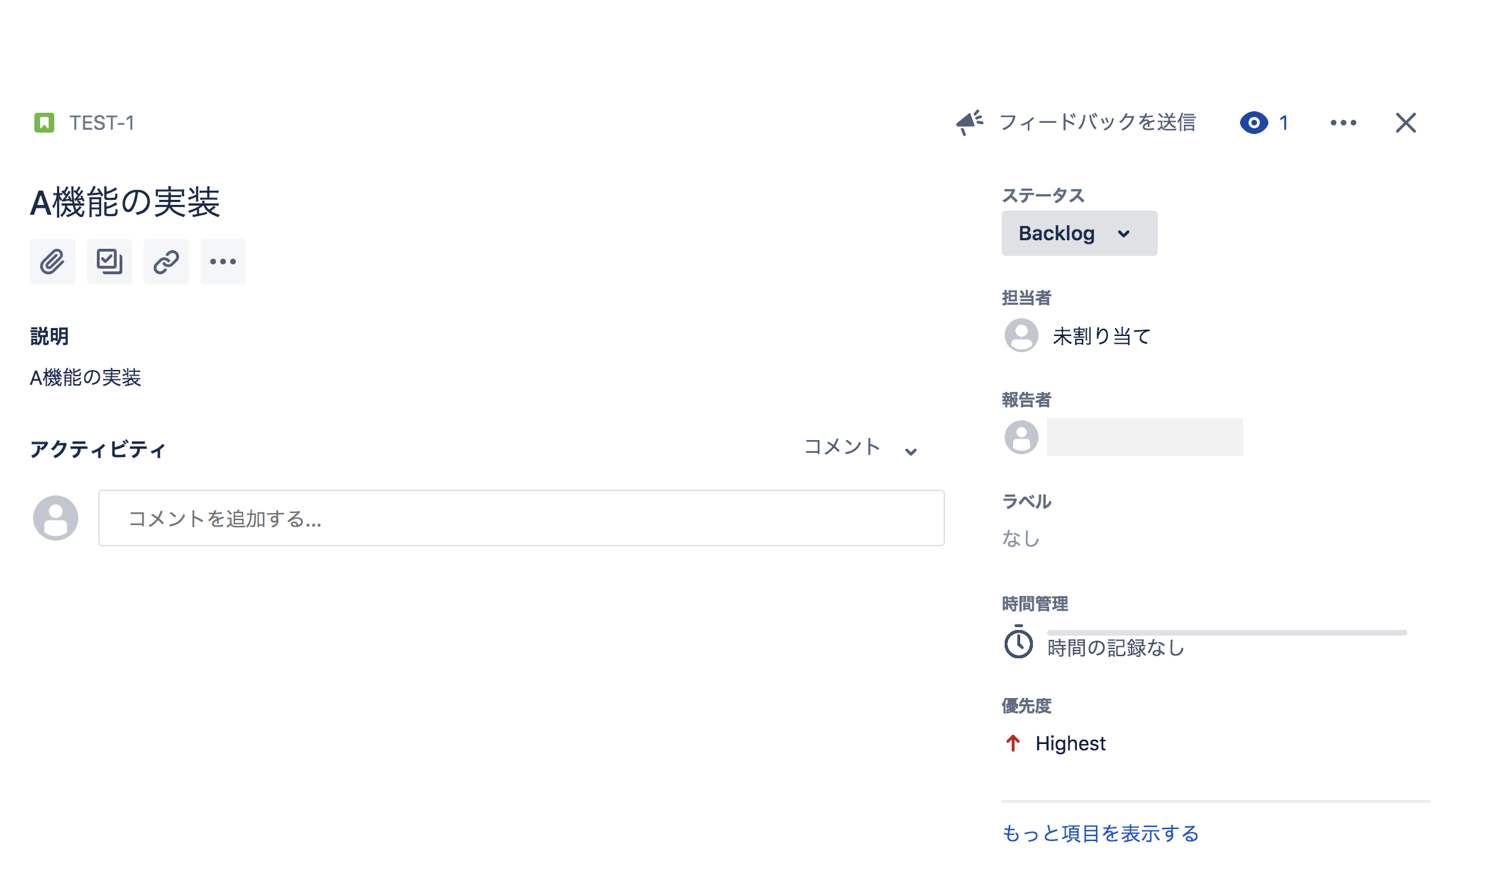
For example, in the case of implementing the A function, after completing the issue creation, the issue card can be created as follows.
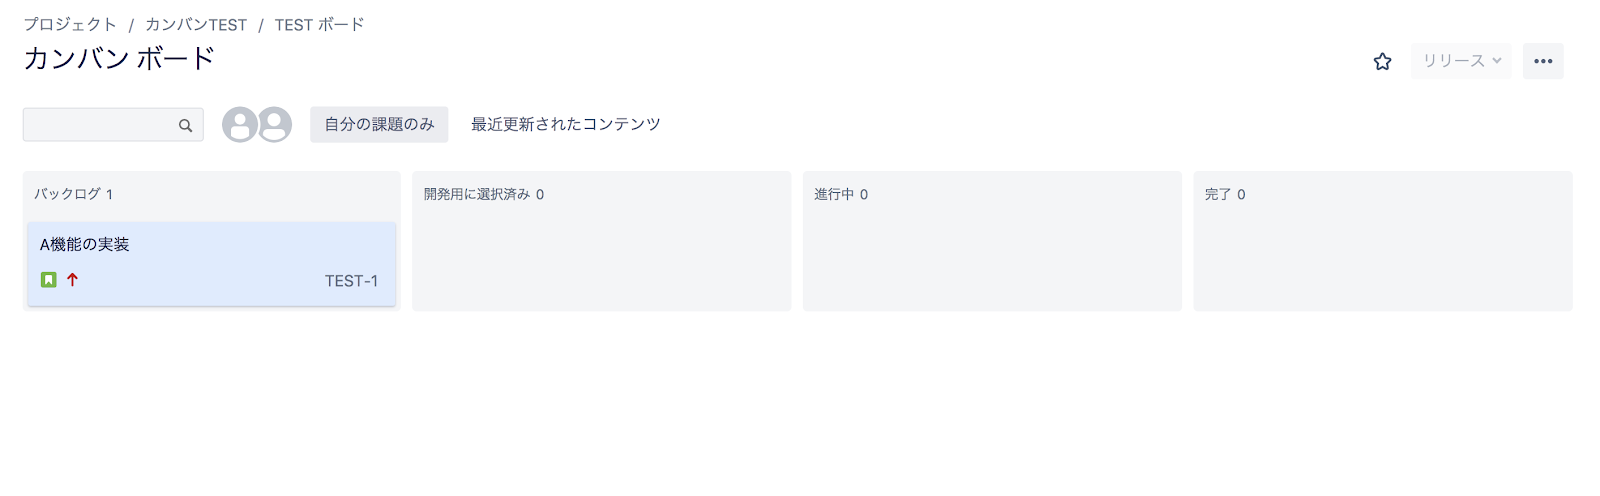
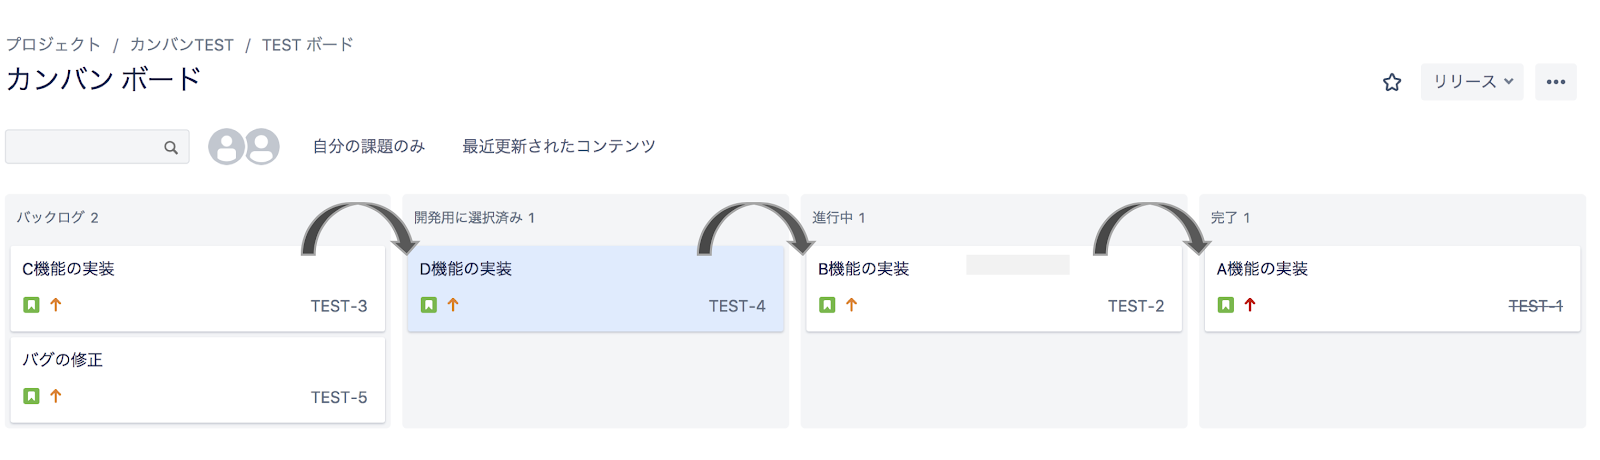
The assignee changes the status of the issue to:. At the same time, you can assign a contact to:. Then the kanban board will proceed.
Basically, you move the card on the left to the right one after another to proceed with the project.
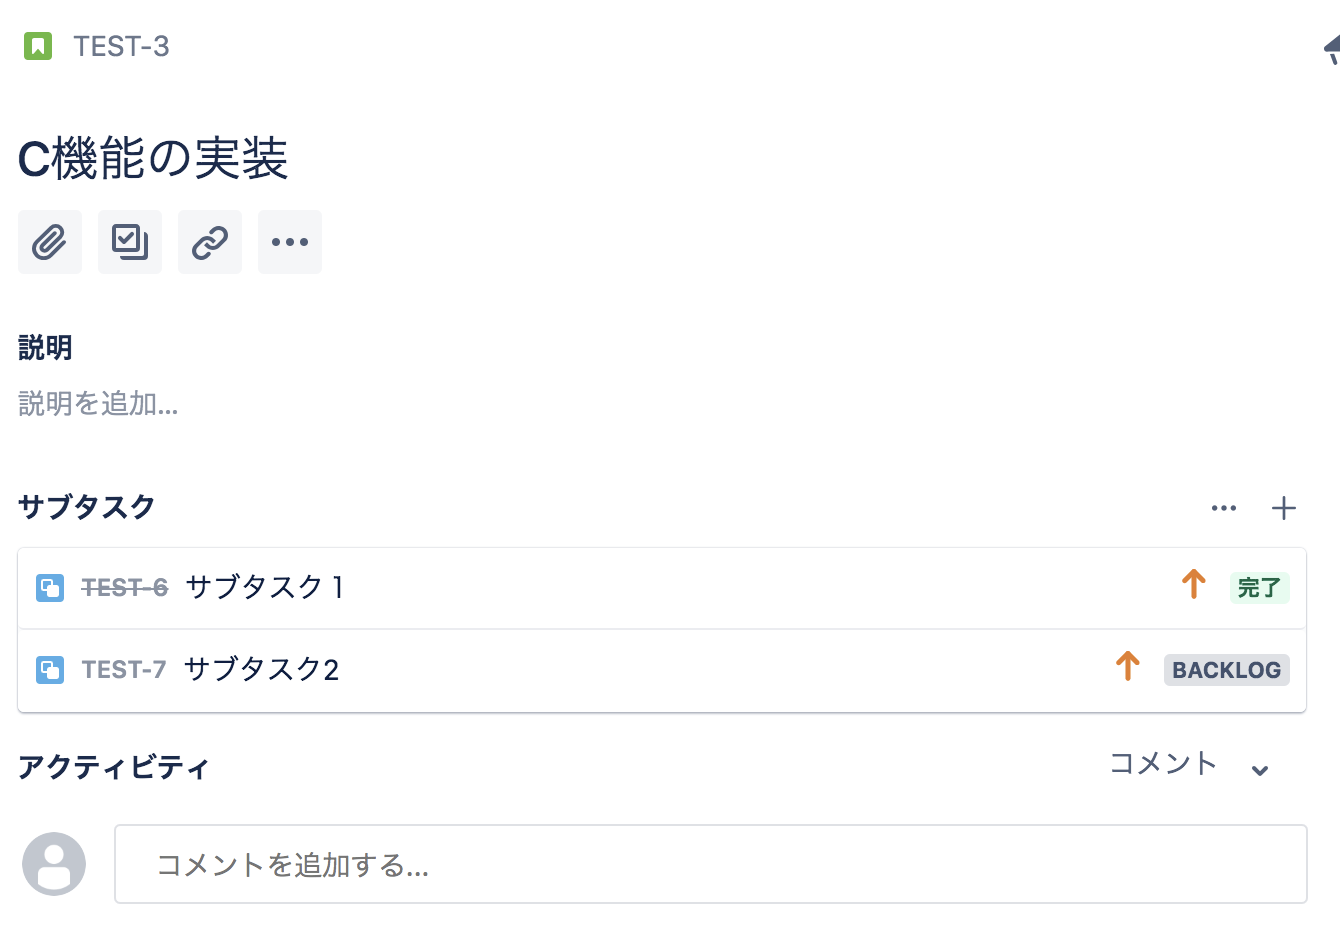
Subtask Function
JIRA provides subtask functionality. A subtask is an image of a child task that is needed to complete a task. You can have as many subtasks as you want.

Subtasks can have assignees as well as Issues. We will continue to complete it.
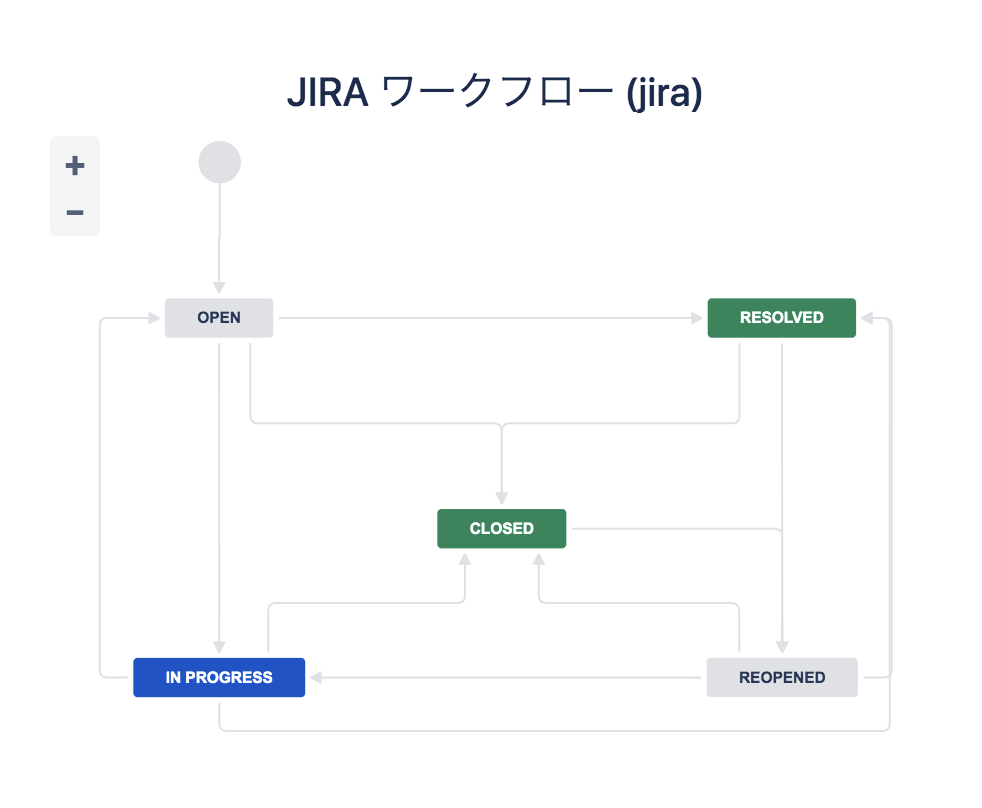
Organize workflows
Now that you understand the outline, I will explain how to organize the workflow. Click “Project Settings” on the left side menu. Here you can configure the project itself.
For example, you can manage the users you add to your project, set screen layouts, and more. Click “Workflows” to view existing workflows. Click “Add Workflow” to configure the workflow in a diagrammatic format.
You can set which items are to be done in which order, branch is to be made, etc. Drag and drop for intuitive interaction.
That’s the basic use of Kanban Board.
Scrum Board
Now let’s take a quick look at the Scrum Board.
Create a backlog from the main project screen. Backlogs can be added more and more intuitively.
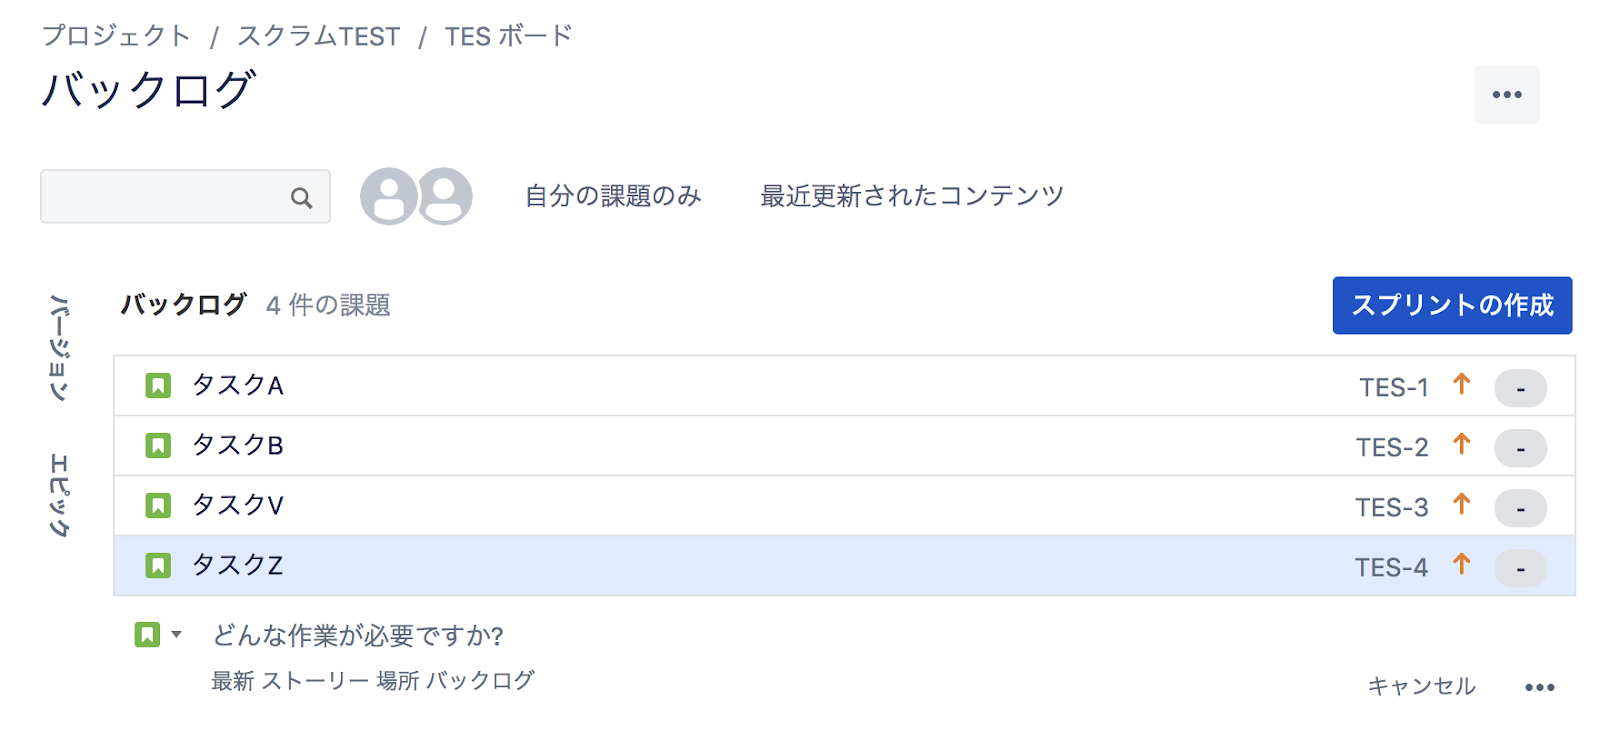
Click “Create a sprint” on the right to move to the sprint planning screen.
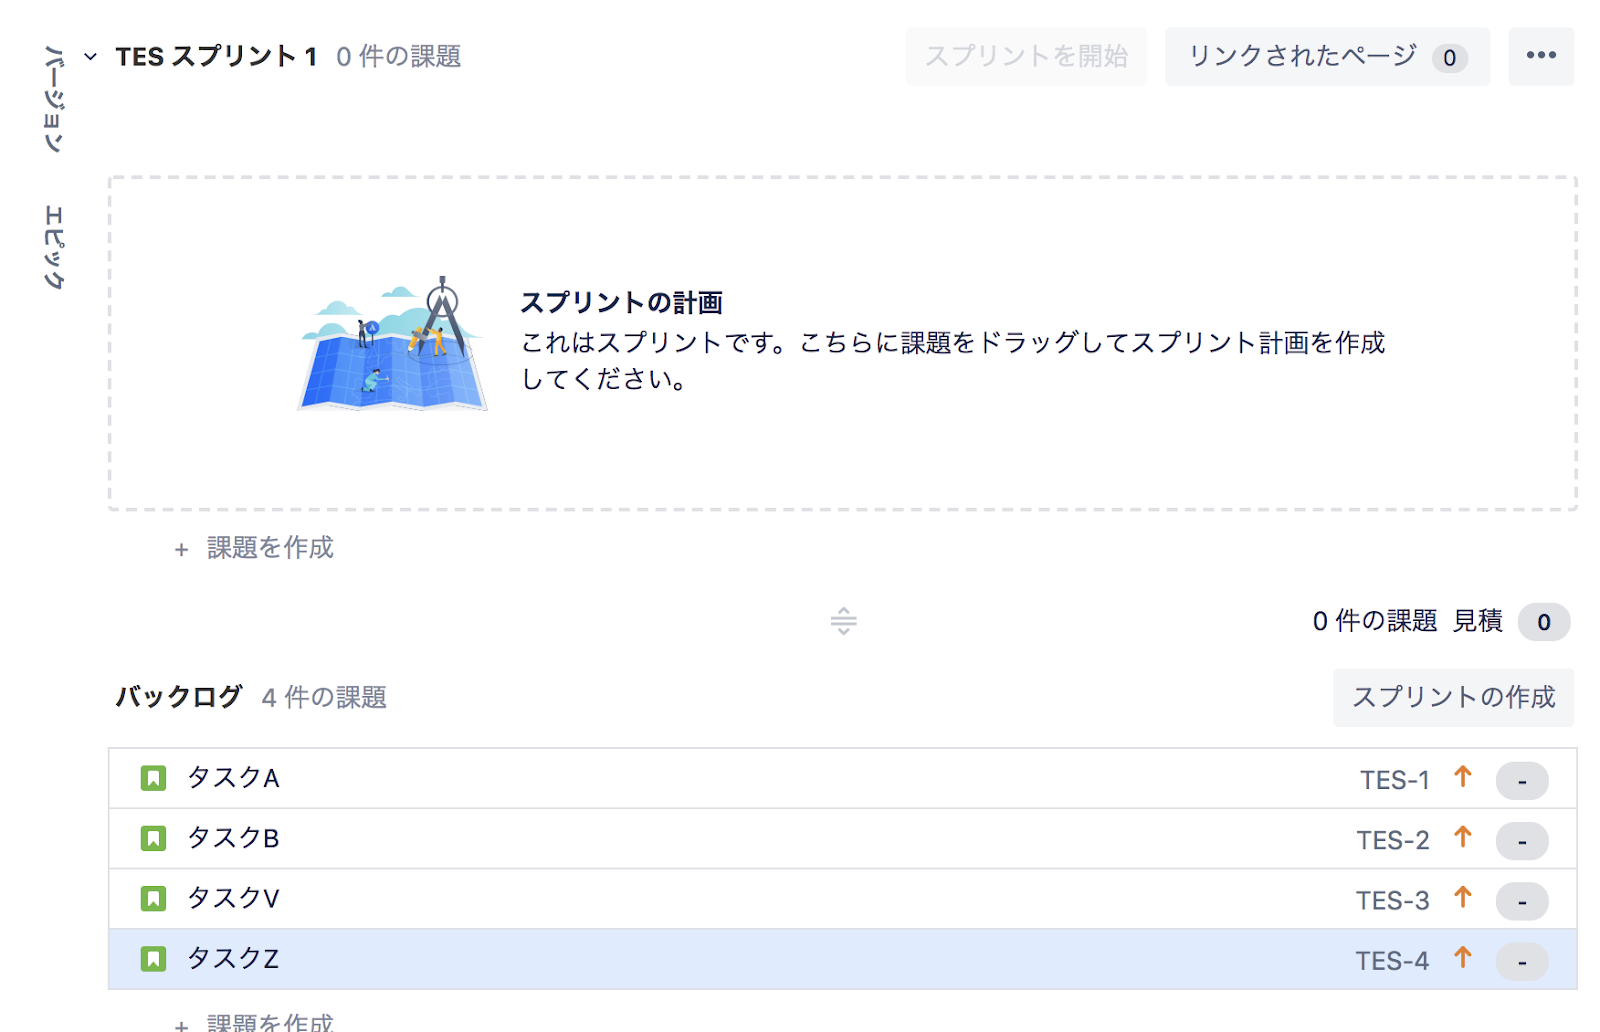
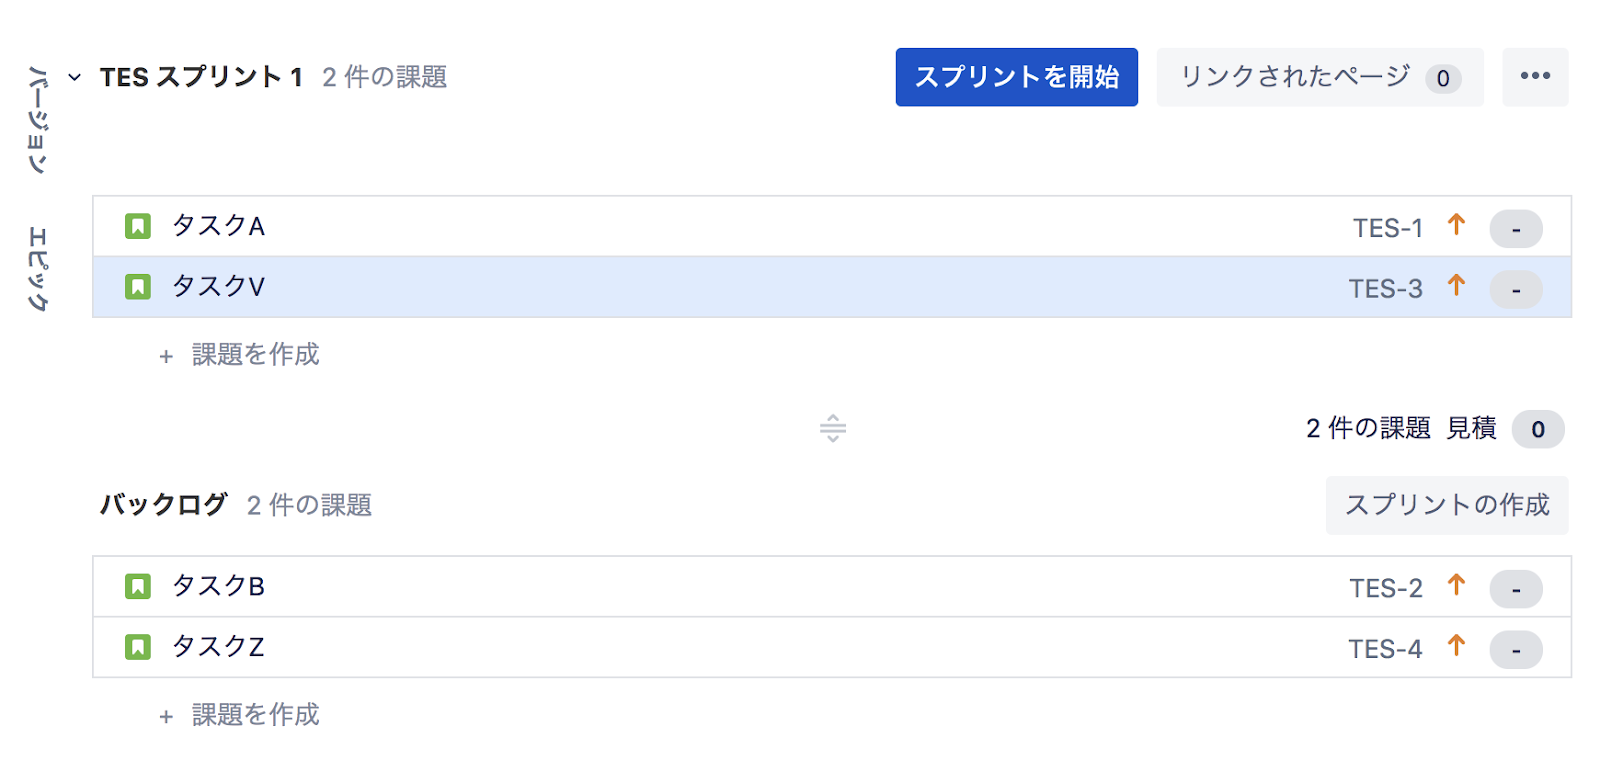
Intuitively drag and drop tasks from the backlog into the dotted line.
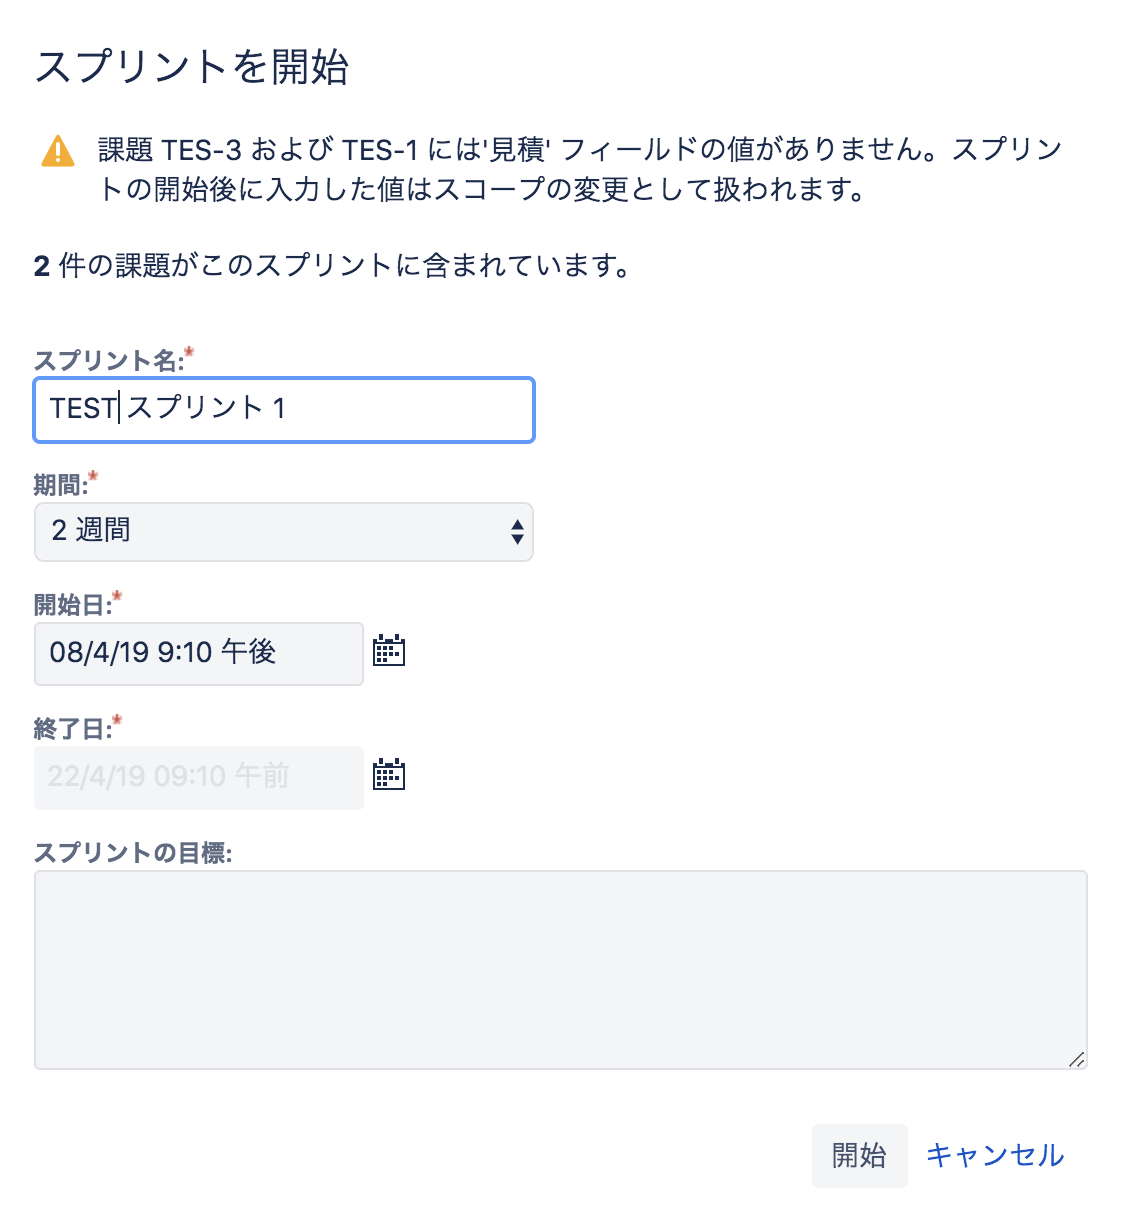
Click the Start Sprint button to set up a sprint. Enter items such as sprint name, period, start date, sprint goal, and select the “Start” button.
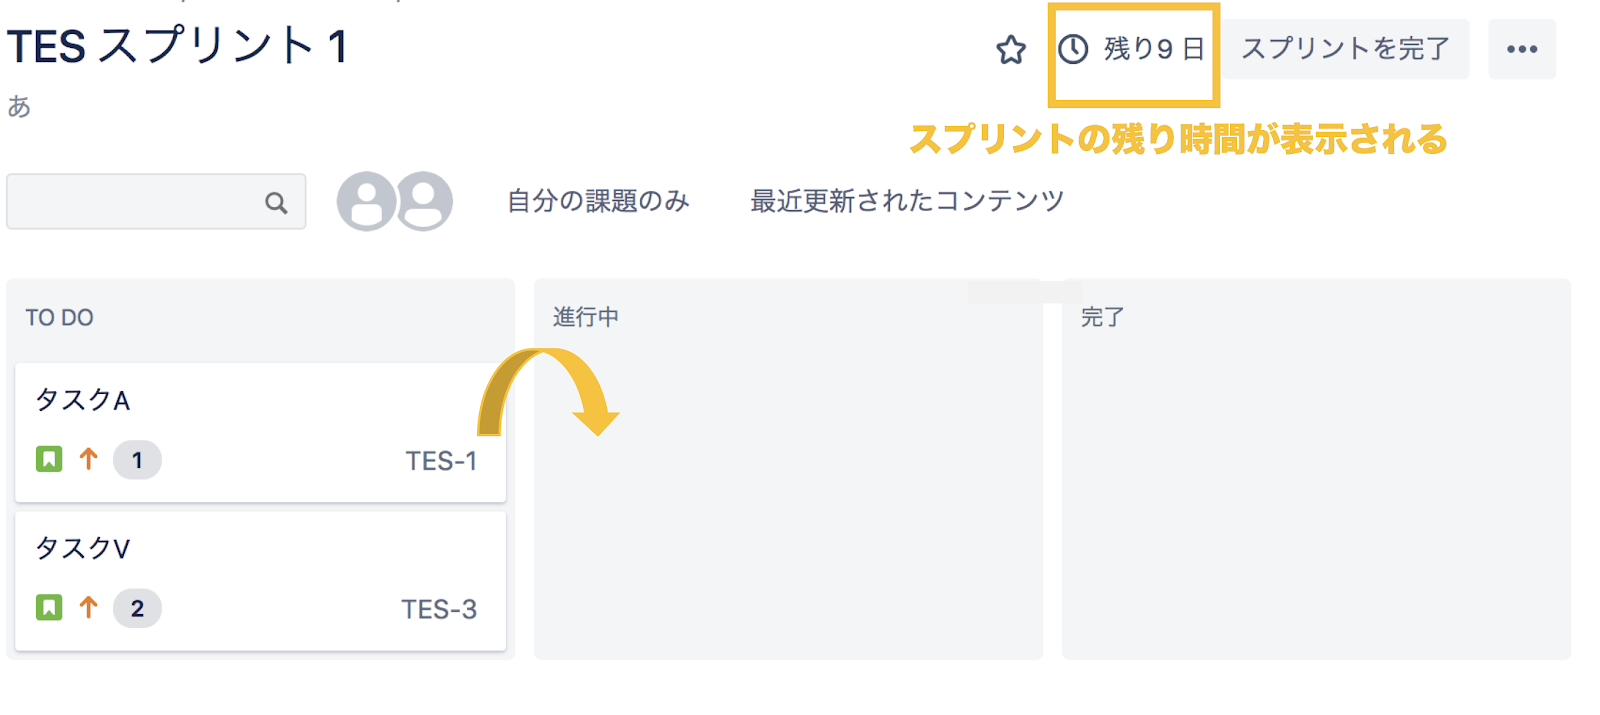
The Agile board appears. Move each task to the right using the kanban method.
You can view sprint reports after completing a sprint.
This allows you to closely review the results of your sprint.
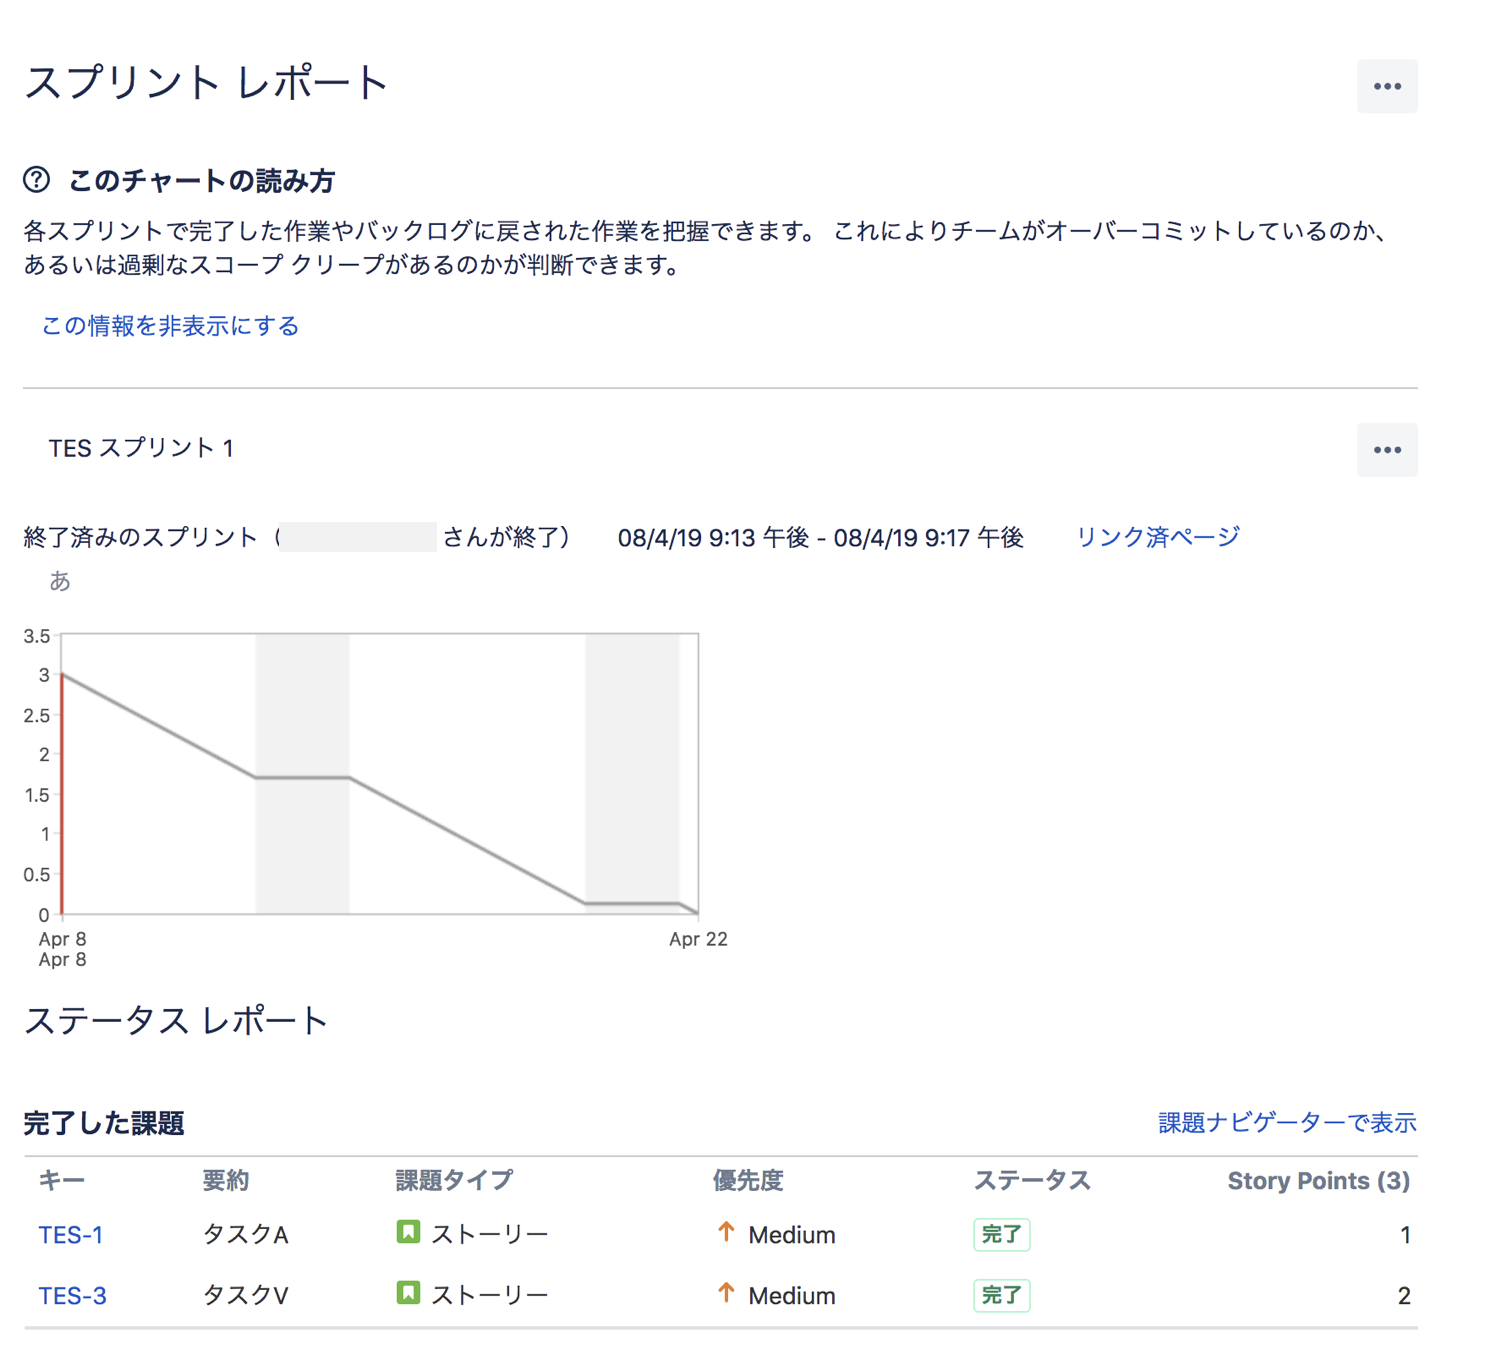
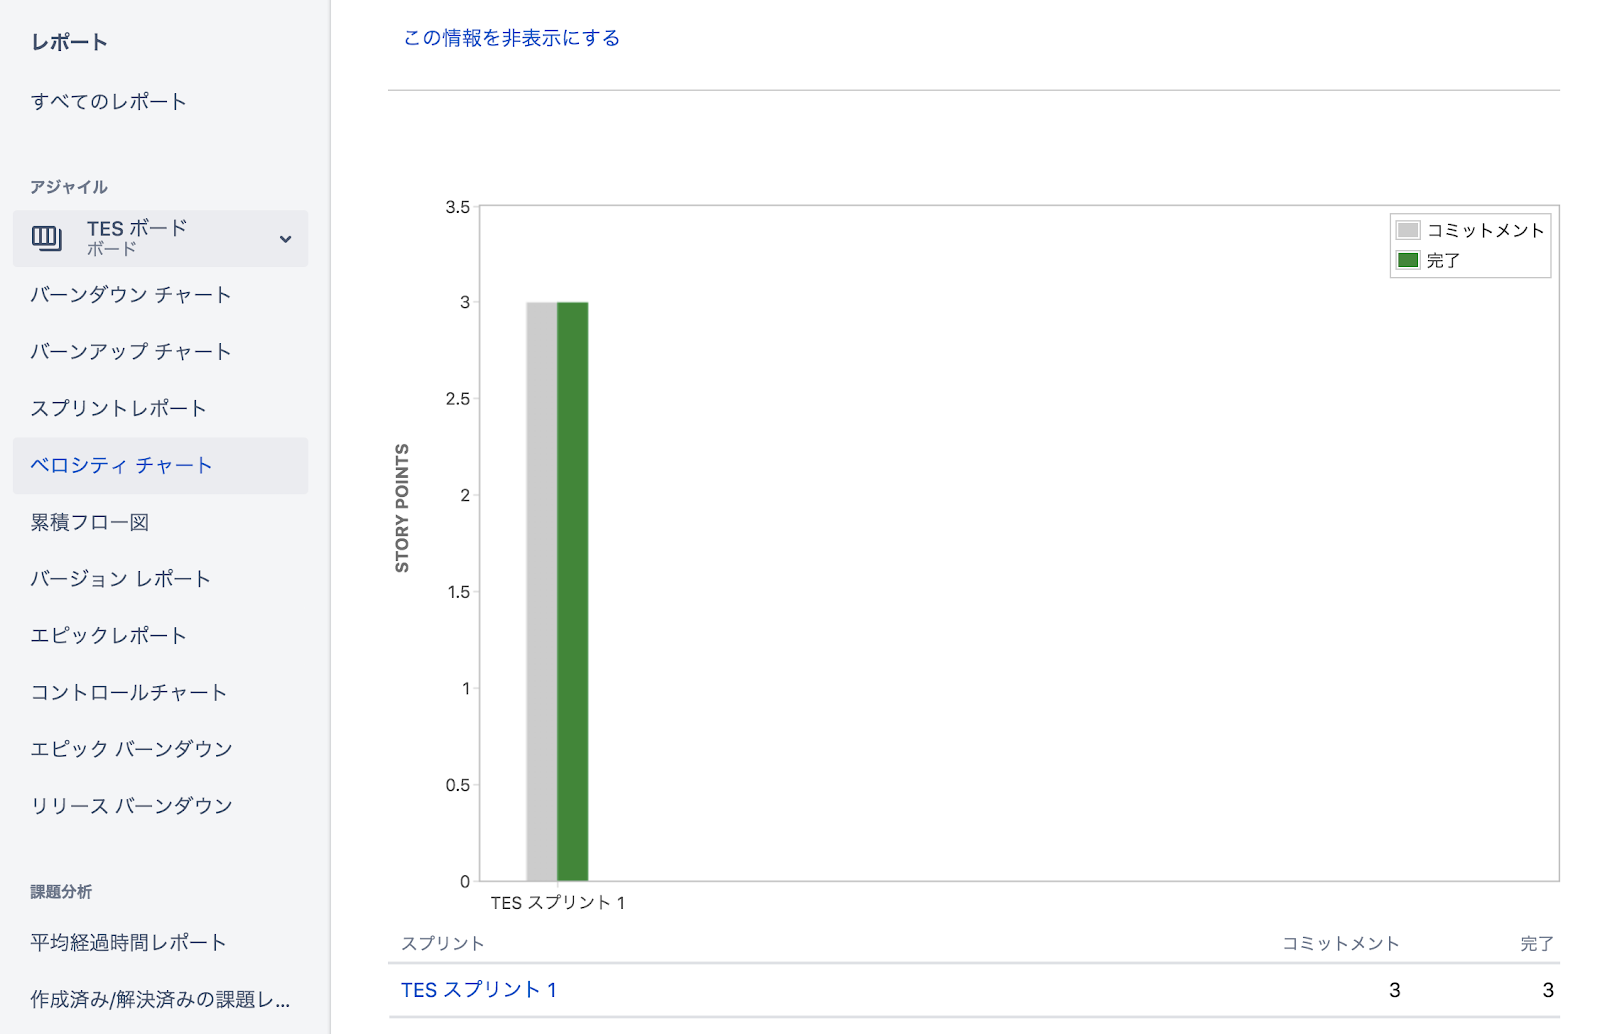
You can view different categories of reports. This allows you to manage your project from many angles.
Working with Applications
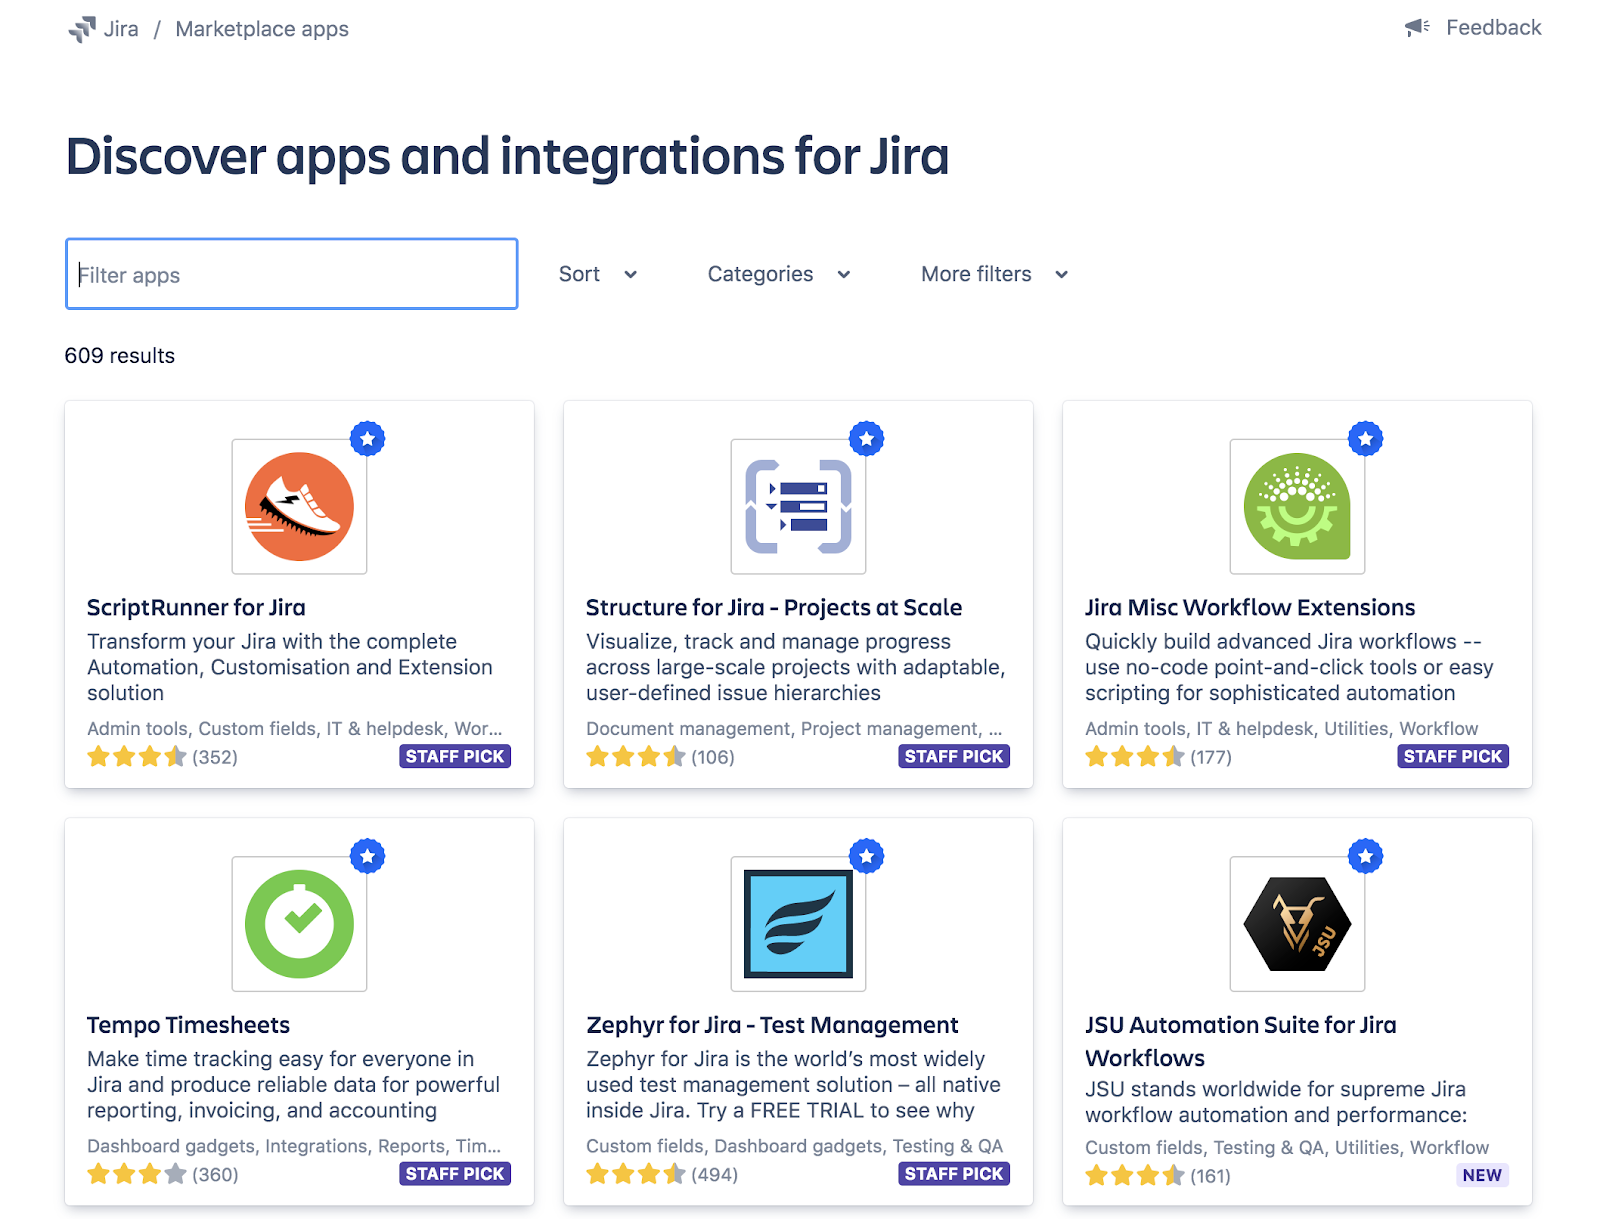
JIRA can work in many different ways with over 3,000 applications.
Click the Settings icon in the main menu. If you click on the application, various applications which can be linked with JIRA will appear.
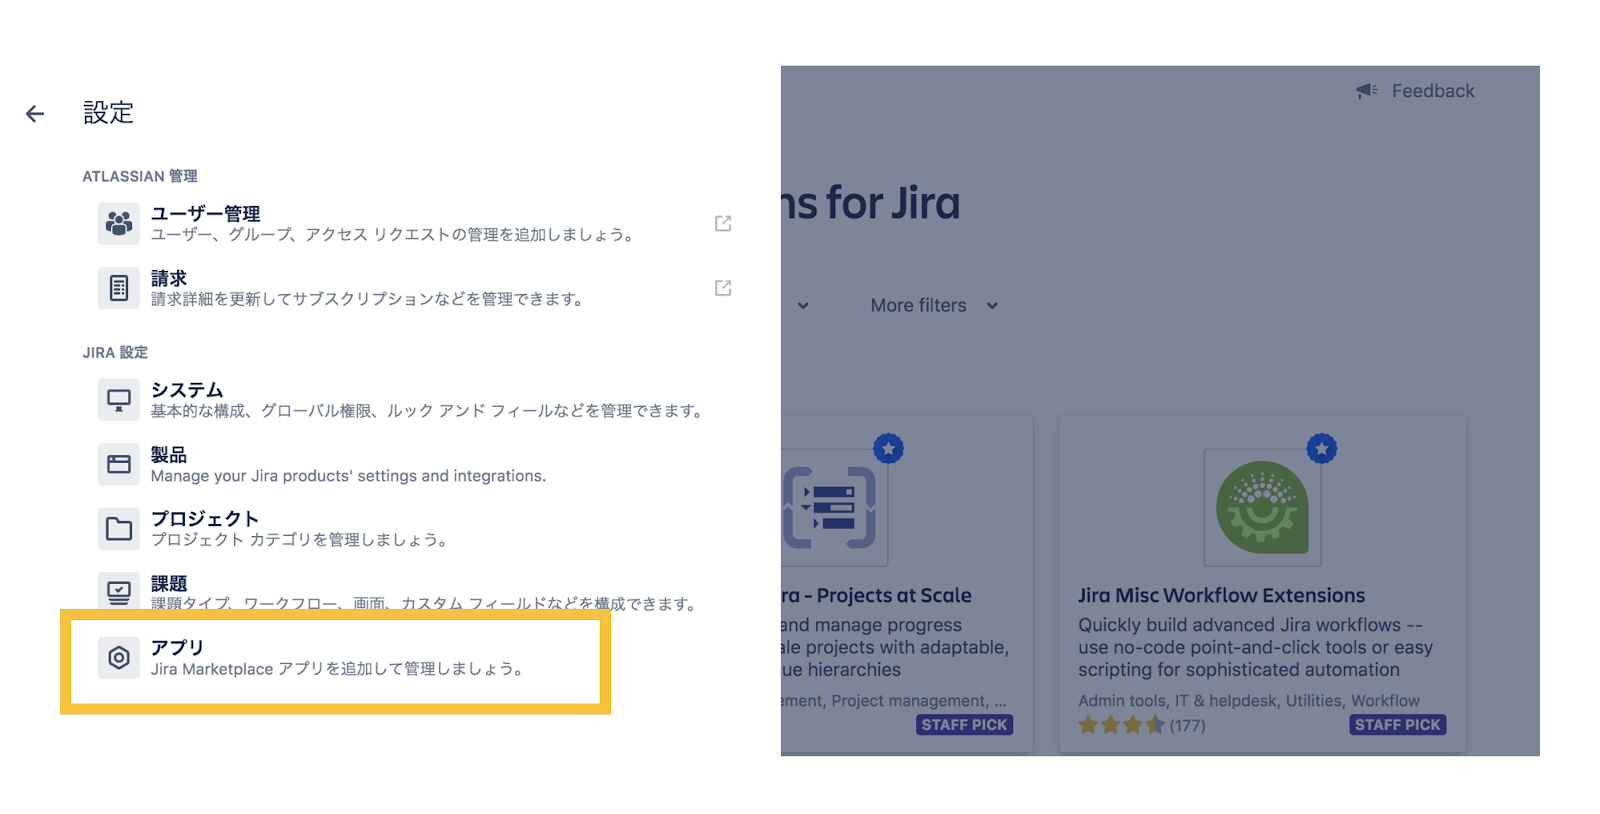
Applications allow you to make your JIRA projects even more efficient.
Lastly
This concludes our entry on basic usage of JIRA.