This post is also available in: 日本語
Introduction
Warning Banners Appear on Google Adsense Admin Screen

Since the beginning of 2019, the following warning banner has appeared on Google Adsense.

What is ads.txt anyway?
Google explains on their site:.
The declaration of a Certified Digital Seller (Authorized Digital Sellers) by ads.txt is an initiative by the IAB to ensure that digital advertising inventory in content is only sold through authorized sellers (AdSense, etc.) by the publisher (If it’s a website, it’s a website operator.) of that content. By creating ads.txt on your own, you control strictly the sellers of your site’s inventory and prevent false inventory from being provided to advertisers.It is strongly recommended that you use ads.txt. The advantage of using ads.txt is that the buyer can determine the fake inventory, so the site operator can stop the flow of revenue to the fake inventory and increase the revenue accordingly.
Simply put, it is a guideline for decision management to use healthy advertising space.
However, this is a warning that failure to do so will have a serious impact on Google Adsense revenues, so it is essential for bloggers and media operators to do so.
Check the trouble shooter
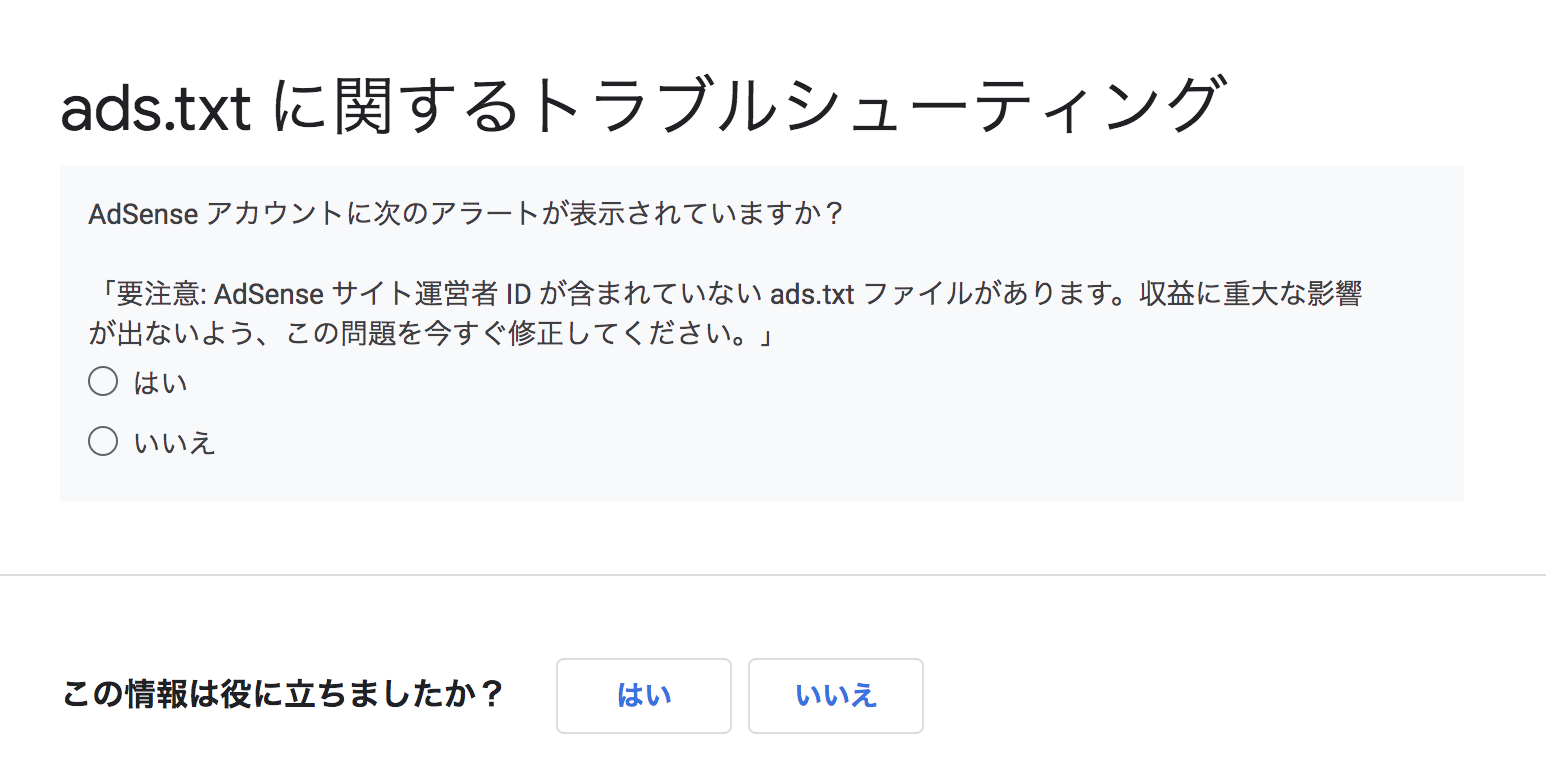
Google has created a troubleshooting site for this ads.txt-related issue, so you may want to check it out.
What does your site need to do?
After all, you need to:.
If we do not do this, there is a concern that advertising revenues of AdSense will be affected.
Support for the Google Cloud Platform (GCP)

Utility provides a brief overview of Google Cloud Platform (GCP) support.
The responses described in this entry primarily cover the following conditions:.
For example, if you are running WordPress as a rental server provider, please be aware that the way is different.
Main audience for this article
- WordPress users
- Operates on Google Cloud Platform (GCP)
- Do not use FTP software
Open Google Cloud Platform(GCP)
Transition to Compute Engine > VM instance from dashboard.
Click SSH to launch a browser window.

Locate the WordPress directory.

Enter the following command:.
Then review the list.
Verify that there is a file called wp-login.php.
txt file here.
Enter the command.
Then, the file editing screen will appear.
Add the following line to the file:.
X is your own AdSense site operator ID.
The sequence is as follows:.
When you finish typing, finish editing.
Press esc, then: wq, and finally click enter.
The file should now be added.
Verify by entering the following command, just in case:.
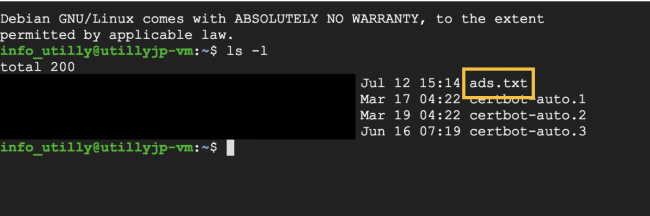
When the ads.txt file is confirmed, it is OK.
Finally, confirm the installation.
Verify that the root domain is properly installed.
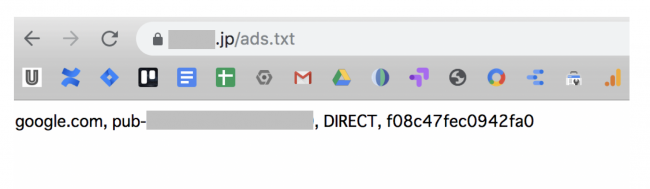
If your site URL is “example.com”, add/ads.txt to display the URL.
It is reflected correctly when the following screen is displayed.
The AdSense window won’t disappear right away, depending on when Google’s crawler detects it, so let’s wait a few days.
If there is no improvement after a few days, you may need to take corrective action because the ads.txt file may have poor crawlability.