This post is also available in: 日本語
Introduction
In this article, I’ll show you how to create a WordPress site from scratch using the Google Cloud Platform (GCP).
This article is divided into the first part and the second part. We will introduce the site construction using the following services.
- Servers, etc.: Google Cloud Platform
- Domains: GoogleDomains
- CMS: WordPress
Benefits of using Google services

Here are some of the benefits of using nearly all of Google’s services:.
- You can start for free: you can start for free for practically the first year because you have free credit.
- Easy integration with Google tools: Connect with other services using your Google account.
- Same Support Center: Different departments but basically Google is the center so it’s not complicated.
Buying Your Domain with GoogleDomains
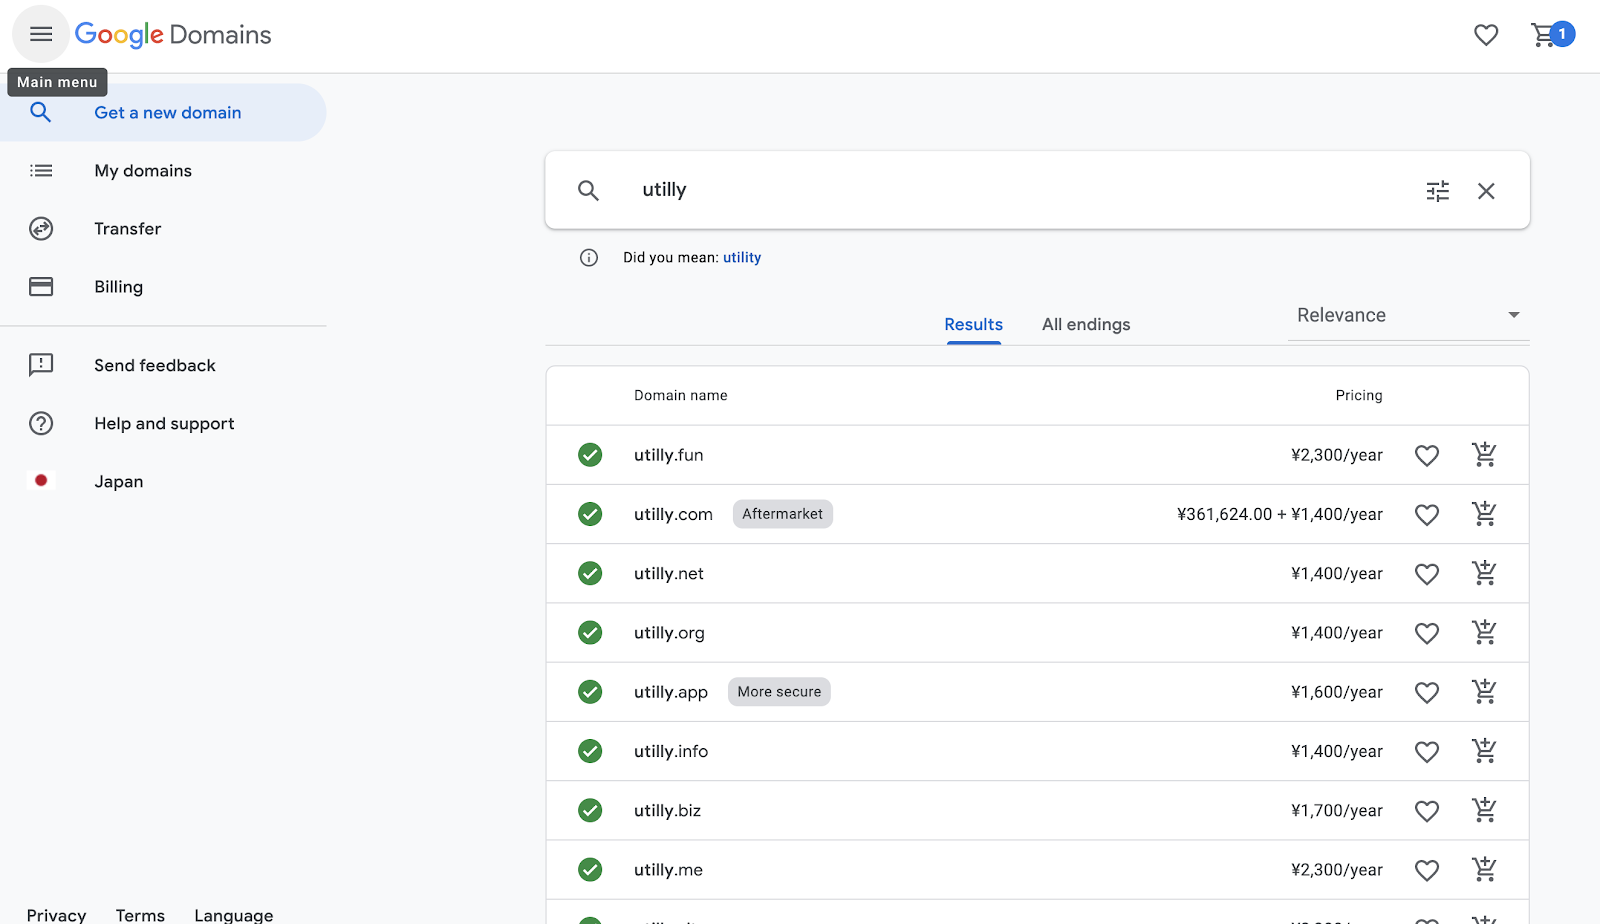
Buy a domain in Google Domains. Search for the domain name you want and put it in the cart. You can pay by credit card.
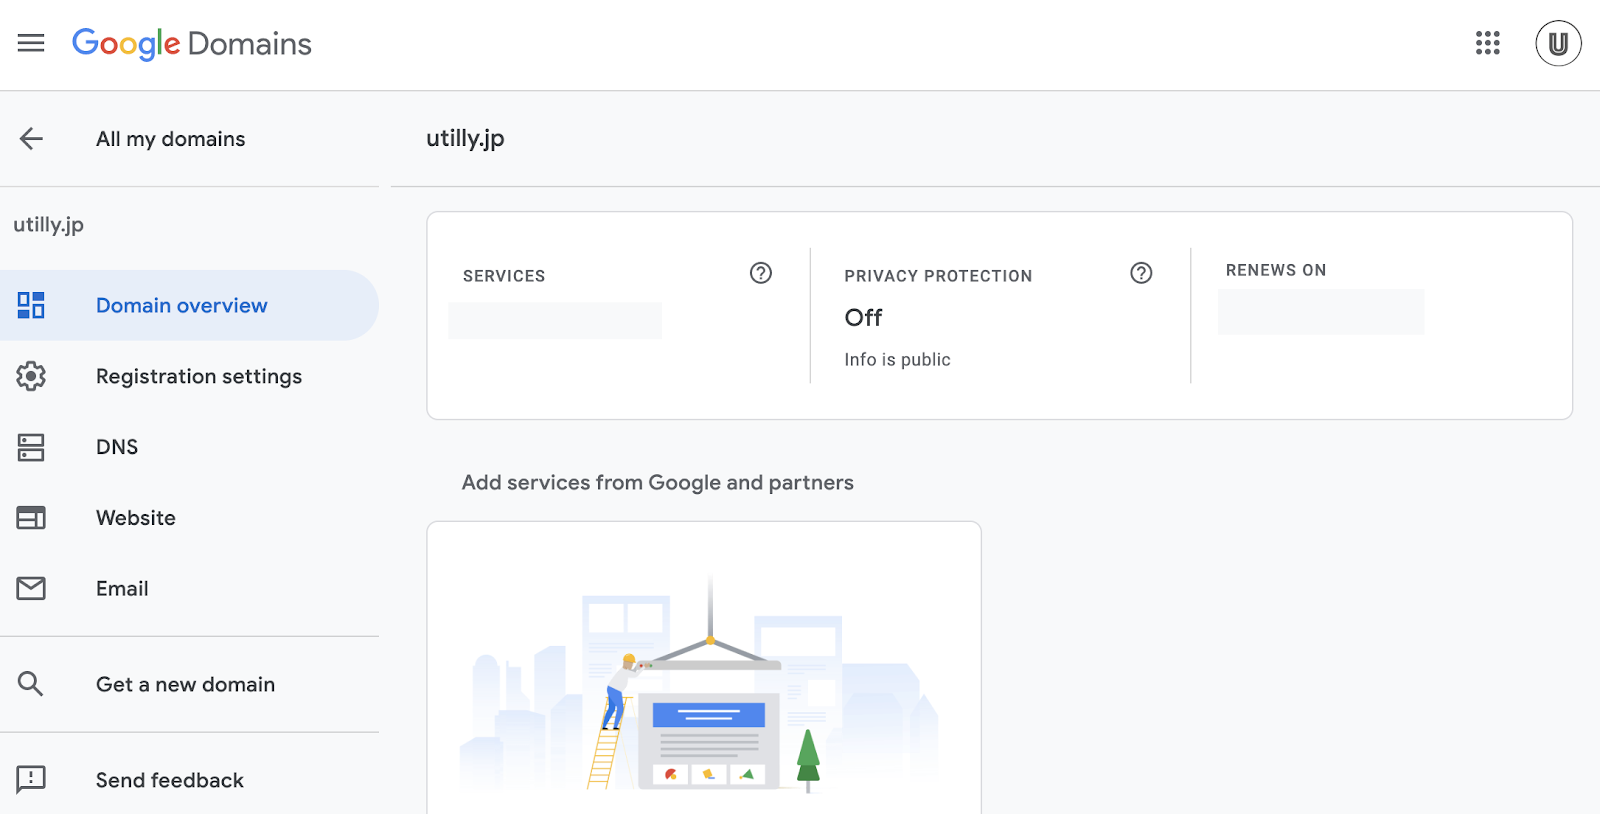
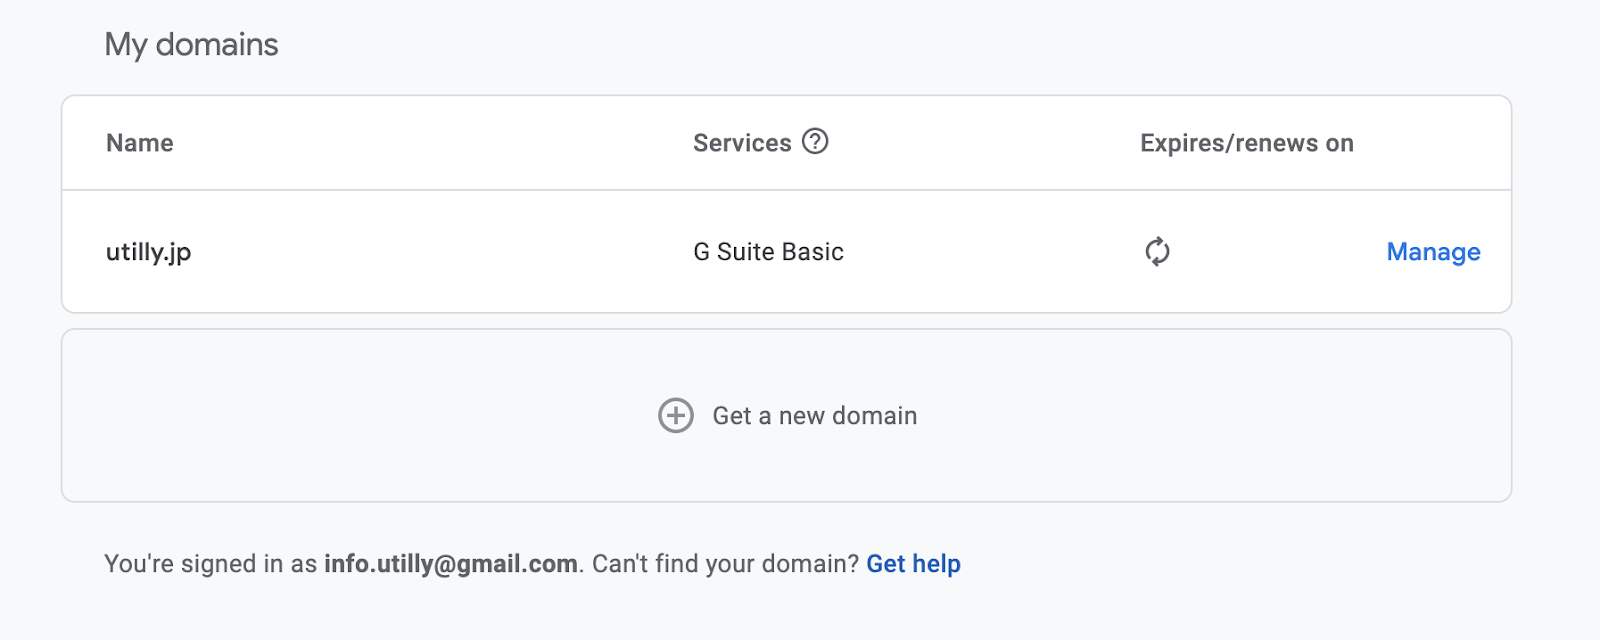
When your purchase is complete, your domain appears in My Domain.
Configuring the Google Cloud Platform (GCP)
Next, let’s talk about building an environment on Google Cloud Platform.
Google Cloud Platform Registration
First, you need to register with Google Cloud Platform. Register an account from the official site.
Start with a free trial.
You can use a credit worth more than 30,000 yen for free. It depends on how you use it, but it has an impact that you can actually use it for free for a year. You will continue to input various types of business information. $300 free credit valid for 12 months
Install Word Press
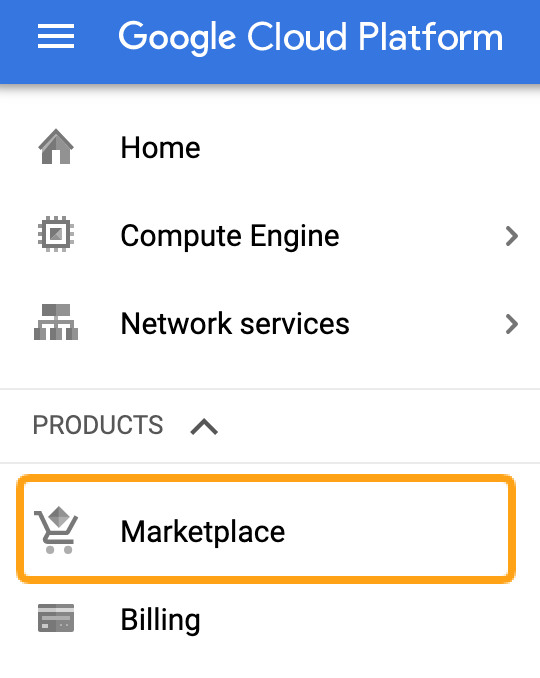
I will install Word Press right away. If you don’t make mistakes here, the installation will be done very quickly. Click “Marketplace” from the main menu on the left.
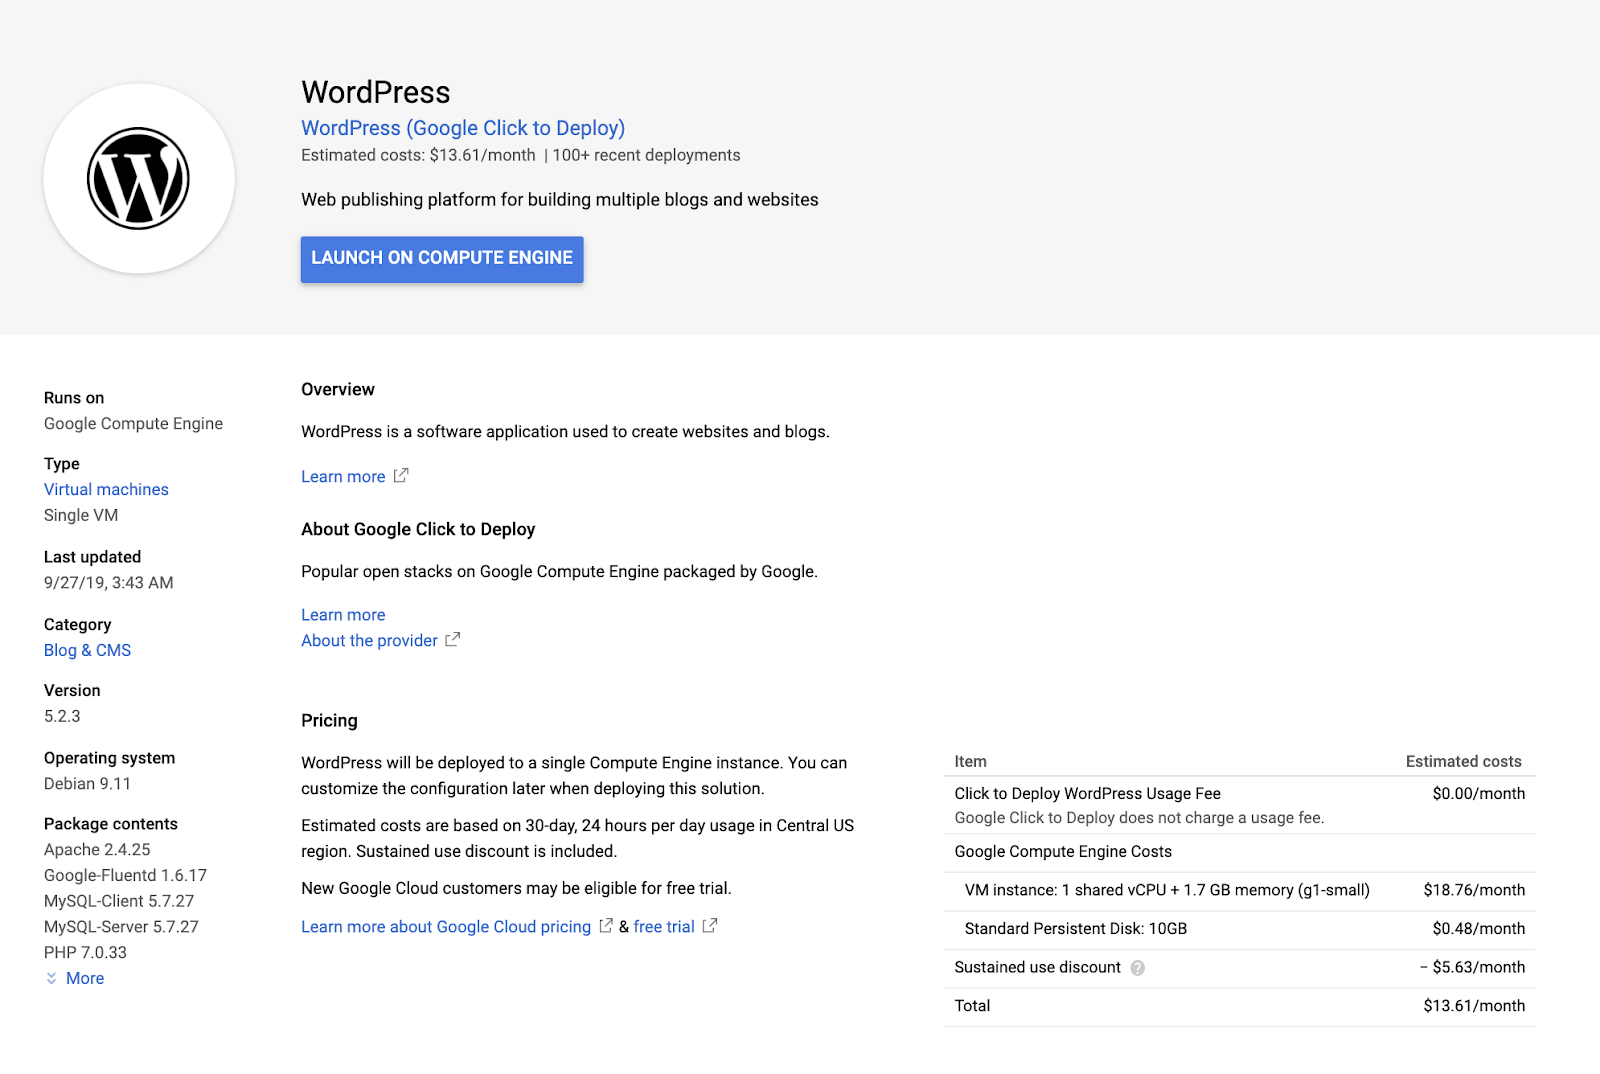
MarketPlace provides packages of various solutions. In the “virtual machine” category, search for “WordPress” and install the following packages:.

When you press “ LAUNCH ON CONPUTE ENGINE ”, then deployment screen will be appeared
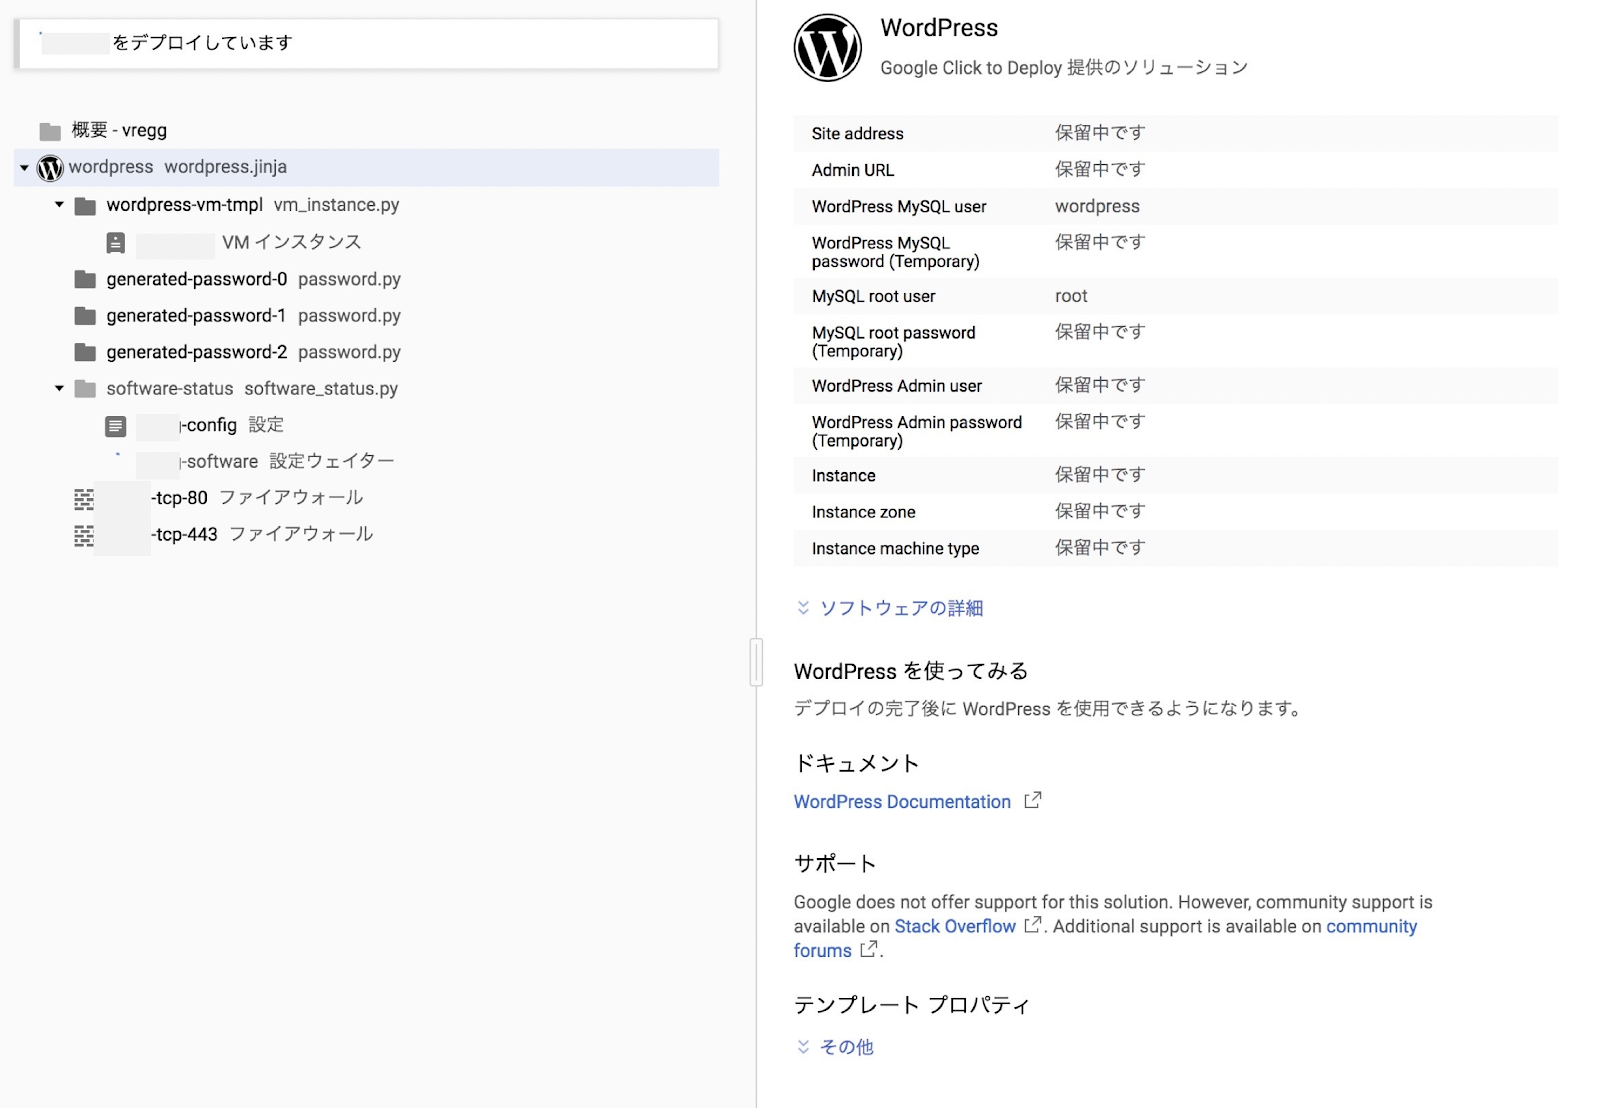
The setting display of the API is displayed. I’ll wait for a while. Move on to the screen for entering various information.
- Deployment name: Enter any project name.
- Zone: The area of the server. If it is media for Japan, I would like it to be closer to the Tokyo region, so I will choose “asia-northeast1-a (b, c)”.
- Set Machine type: micro (You can change it later.)
- Administrator Email: Enter the address to contact
Click “Deploying” after making various entries. The Deployment in Progress screen appears and waits for the deployment to complete.
Wait a moment for the deployment to complete. If you type in a numeric IP address like “XX.XXX.XXX.XX”, you can confirm that the initial page of Word Press appears as follows!
It’s done. Click the site address to go to the start screen shown below.
Upgraded Word Press to the latest version
Word Press needs to be updated to the latest version. If the latest version is not released, there is a risk of unauthorized access by exploiting the vulnerability. You can log in to the administration screen of Word Press from Admin URL.
The following is the word press management screen.

Click “Update” to check that the word press is up to date. If there is an indication that needs to be updated, update it immediately.
If it is already up to date, there is no problem.
And finally,
We’ve shown you how to install WordPress on Google Cloud Platform (GCP) and get it displayed by IP address.
In a sequel, I’ll show you how to complete a site by tying an IP address to a domain like xxx.com.