This post is also available in: 日本語
Introduction
A series of articles on building WordPress media from scratch using the Google CloudPlatform (GDP).
Here’s how to build a WordPress site using the following Google services:.
- Servers, etc.: Google Cloud Platform (GCP)
- Domains: GoogleDomains
- CMS: WordPress
In the first article, I installed WordPress on Google CloudPlatform (GDP) and finished setting up the domain.
Check out the article below for more details.
Configuring DNS for WordPress Media Created with Google CloudPlatform (GDP)
What this article describes
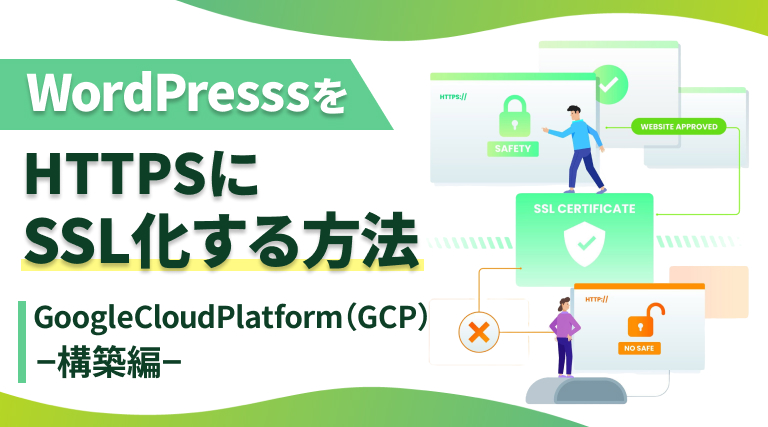
Here’s how to turn your WordPress site on Google Cloud Platform (GCP) into HTTPS (= how to SSL-enable).
What is SSL?
First, I will explain about SSL briefly.
By encrypting the site, the communication can be encrypted so that users can use it with confidence.
SSH Settings
This article describes how to implement Let’s Encrypt, a free SSL certificate issuance service, on Google Cloud Platform (GDP).

If you want to do SSL certification with GDP, you need to configure from the command prompt.
Log in to Google Cloud Platform
Open the Google Cloud Platform (GDP) Admin screen. Open the VM instance from the Compute Engine main menu.
You can see your project. Press SSH, then you can see the terminal view.
Verifying the Operating System
First, check the operating system. Type the following command and press Enter:.
The operating system is displayed so that you can check it.
Open the Certbot
Go to the Certbot page.
Certbot is software provided by Let’s Encrypt that automates the acquisition and renewal of SSL certificates.
Select the “My HTTP website is running Software on XXXX” tab in the center. The software chooses Apache, and the system enters the operating system you just checked.
System: Debian9 (stretch)
This takes you to the installation instructions for Apache on Debian 9 (stretch). Basically, you should follow this direction.
To get started, run the following command to install Apache:.
When the installation is complete, enter the command to start apache.
You will then be asked to enter your email address. You need to enter your email address.
Then you will be asked for an agree, so type “a” and press Enter. Then you are asked to send a marketing email. Enter y if necessary or n if not required.
Next is important. When you are prompted for a domain name, enter the domain name.
Enter your domain like utilly.jp.
Next, it asks if you want to redirect to HTTPS. Enter 2 and click Enter.Congratiations! and you can confirm that the HTTPS setting is completed.
Try restarting the Apache server by running the following command:.
Then, enter https to access the site.
You can see that it was updated with HTTPS without any problem!
Finally, enter the WordPress administration screen.
Change the WordPress address (URL) and the site address (URL) from HTTP to HTTPS. Once you’ve saved your settings, you’re done.
Automatic Update Settings
Let’s also set up automatic renewal of SSL certificate. Enter the following command:.
The display indicates that all automatic update settings were successful.
This completes the automatic update setting!
And finally,
That’s it for a WordPress site built on Google CloudPlatform (GDP). There are still a few articles on how to build WordPress using Google Cloud Platform. Now you’re done creating a WordPress site using Google Cloud Platform or Google domain.


